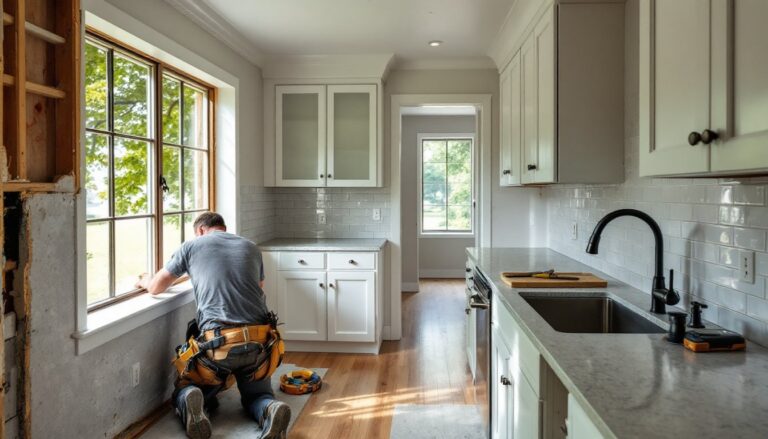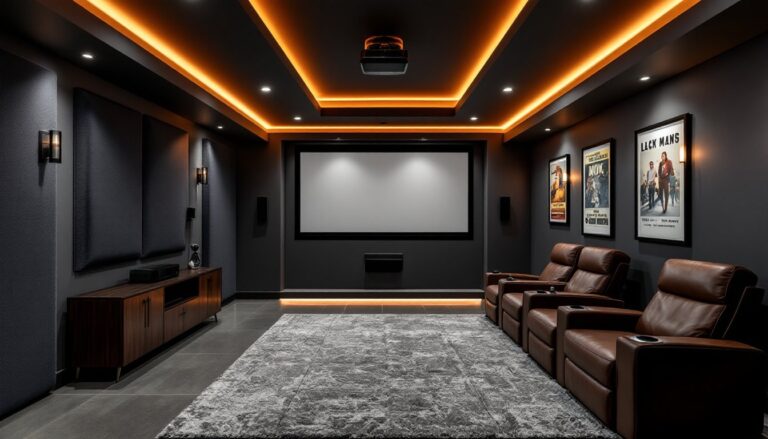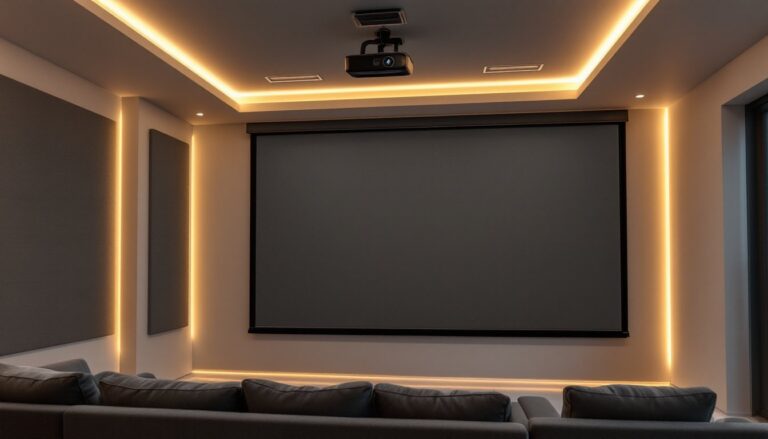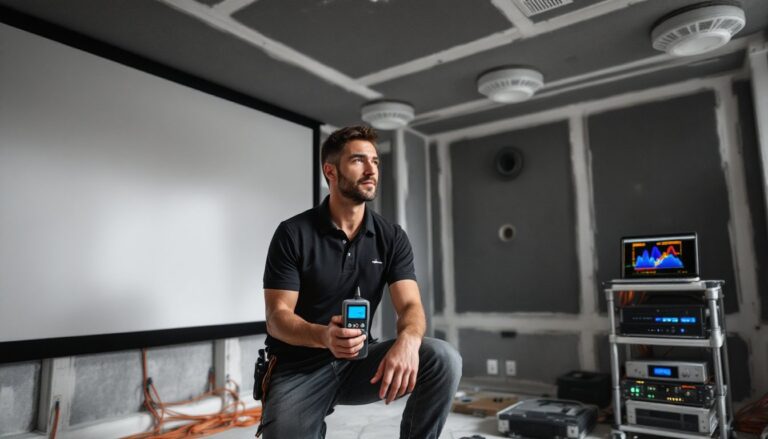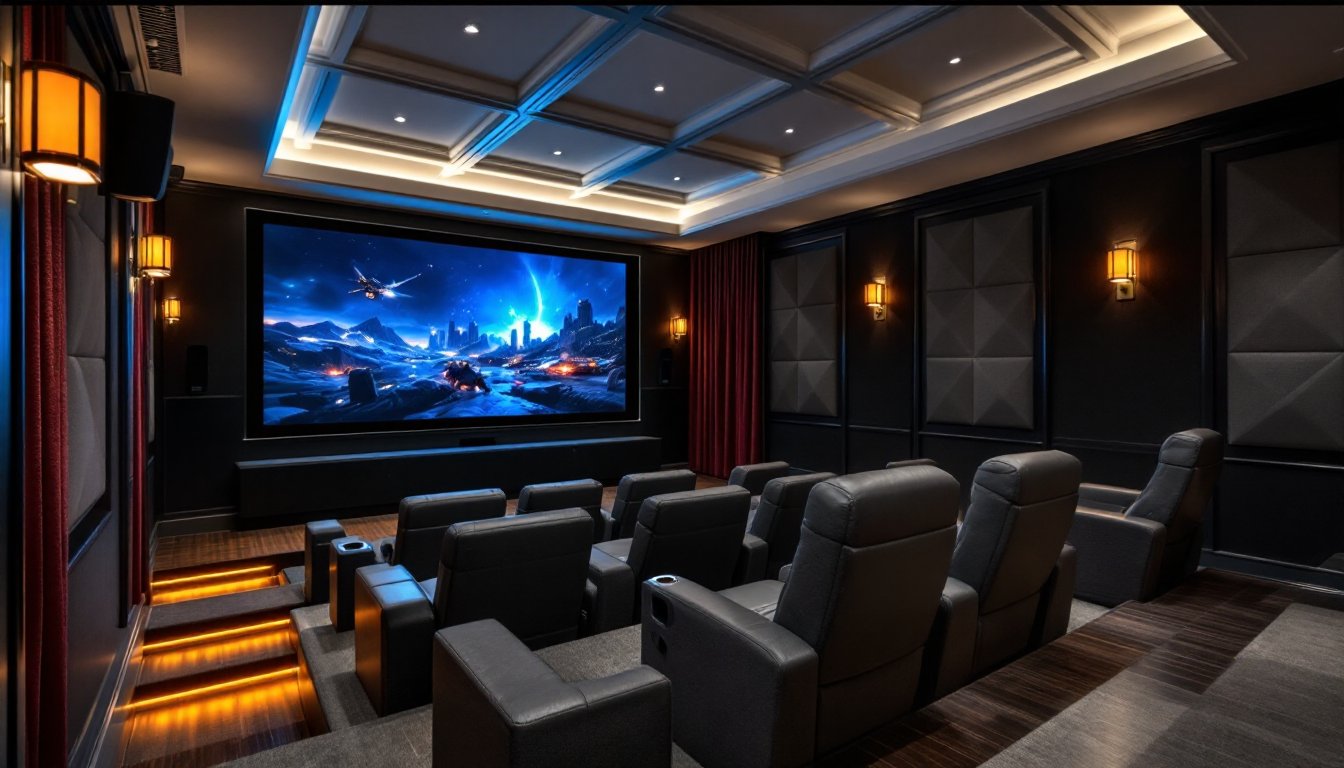
Building a home theater isn’t just about buying a big screen and calling it done. It’s about creating a dedicated space where movies feel immersive, sound wraps around the viewer, and every seat in the room delivers a great experience. Whether working with a basement, spare bedroom, or bonus room, thoughtful design choices can turn an ordinary space into a cinematic retreat without requiring a contractor’s budget or a Hollywood studio’s square footage. The difference between a TV room and a true home theater comes down to intentional planning, room selection, equipment placement, seating geometry, lighting control, and acoustic treatment all play critical roles in the final result.
Table of Contents
ToggleKey Takeaways
- Home theater designs require balancing five interconnected systems—video display, audio, seating, lighting, and acoustics—to create a truly immersive cinematic experience.
- Proper viewing distance follows industry guidelines: for a 120-inch screen, viewers should sit 9 to 13 feet away to avoid eye strain and maximize image quality.
- Subwoofer placement significantly impacts bass quality—use the ‘subwoofer crawl’ technique to find the optimal spot, as corner placement maximizes output but mid-wall locations offer better bass control.
- Strategic acoustic treatment, including first reflection panels and bass traps, transforms muddy dialogue into clarity and tightens bass response, often requiring only modest improvements to achieve noticeable results.
- Seating geometry must keep viewing angles within 30 degrees off-axis from screen center, with 36 to 40 inches of clearance between rows to prevent color shifts and ensure comfortable walkability.
- Complete blackout window treatments and dimmable LED lighting systems with smart controls are essential for eliminating screen glare and reducing eye strain during extended viewing sessions.
Essential Elements of a Great Home Theater Design
A successful home theater balances several interconnected systems: video display, audio equipment, seating, lighting, and acoustics. Miss one element, and the whole experience suffers. Start with a clear understanding of the space’s limitations and strengths before purchasing equipment.
Display size and viewing distance follow industry guidelines. For a 4K screen, the Society of Motion Picture and Television Engineers (SMPTE) recommends a viewing distance of 1 to 1.5 times the screen width. A 120-inch diagonal screen (roughly 104 inches wide) works best when viewers sit 9 to 13 feet away. Go smaller in tighter rooms, forced proximity to an oversized screen causes eye strain.
Audio configuration typically starts with 5.1 surround sound (five speakers plus one subwoofer) and scales up to 7.2.4 Dolby Atmos setups for ceiling-mounted height channels. Speaker placement matters more than brand name. Front left, center, and right speakers should form a 22 to 30-degree arc from the primary seating position. Subwoofers work best in corners or along walls where boundary reinforcement boosts bass response.
HVAC and electrical requirements often get overlooked. A 15-amp circuit handles most home theater gear, but dedicated 20-amp circuits prevent breaker trips when running a projector, AV receiver, powered subwoofer, and lighting simultaneously. Rooms with poor ventilation heat up quickly, plan for supplemental cooling if the space lacks sufficient airflow.
Room Selection and Layout Planning
Basements make ideal home theaters due to minimal exterior noise, limited natural light, and flexible layout options. Ground-floor rooms work too, but windows require blackout treatments, and foot traffic from adjacent spaces can disrupt viewing.
Room dimensions affect sound quality. Avoid perfect squares, parallel walls create standing waves that cause boomy bass and uneven frequency response. A rectangular room with a length 1.6 times the width (the golden ratio for acoustics) minimizes resonance issues. An 18-foot by 11-foot room with 8-foot ceilings offers solid performance for 5.1 systems.
Door placement influences seating layout. Rear entry doors let viewers slip in without blocking the screen. Side doors limit seating rows and force awkward angles for anyone sitting near the entrance. If the room has a single front entry, consider adding a second door or accept a narrower seating arrangement.
Floor load capacity matters for riser platforms and multiple rows of seating. Standard residential floors support 40 pounds per square foot live load (IRC 2021), but a two-tier riser with recliners and four adults can exceed that in concentrated areas. Consult local building codes before building elevated platforms, some jurisdictions require engineered plans for raised structures.
Popular Home Theater Design Styles to Match Your Home
Home theater aesthetics range from commercial cinema replicas to spaces that blend seamlessly with existing home interiors. The style choice affects material selection, color palettes, and finishing details.
Classic cinema style uses deep reds, golds, and blacks with heavy drapes, sconces, and marquee lighting. Acoustic fabric panels double as wall treatments, stretch fabric over 2-inch Rockwool Safe’n’Sound panels mounted on 1×4 furring strips. This approach delivers vintage theater vibes while improving sound quality.
Modern minimalist designs favor neutral tones, hidden speakers, and flush-mounted displays. In-wall speakers from brands like KEF or Paradigm disappear into drywall with only grilles visible. Motorized screen housings conceal projection screens when not in use. This style works well in multi-purpose rooms that serve as guest spaces or home offices during the day.
Rustic or industrial themes incorporate exposed beams, reclaimed wood accent walls, and metal lighting fixtures. Barn wood planks (actual thickness 3/4 inch, nominal 1-inch) add texture without sacrificing acoustic performance when installed over sound-dampening underlayment. Edison-style LED bulbs on dimmer switches provide adjustable ambient lighting that suits the aesthetic.
Sports bar or gaming lounge designs emphasize casual seating, multiple screens, and brighter lighting. This style trades pure cinematic immersion for versatility, think modular sectionals, LED strip lighting, and screens mounted at multiple angles for simulcasting games.
Audio and Visual Equipment Placement Strategies
Equipment placement determines whether a system performs to spec or underdelivers. Proper positioning requires precise measurements, not guesswork.
Front speakers mount at ear level when seated, typically 36 to 42 inches off the floor. Center channels go directly above or below the screen, angled toward the seating area. Toe-in the left and right speakers 10 to 15 degrees toward the center seat for tighter imaging. Wall-mounting brackets allow fine-tuning after installation.
Surround speakers in 5.1 systems sit 90 to 110 degrees off-axis from the main listening position, slightly above ear level (24 inches higher works well). For 7.1 configurations, side surrounds move to 90 degrees, and rear surrounds go 135 to 150 degrees behind the viewer. Avoid placing surrounds directly against the listener’s head, maintain at least 2 feet of clearance.
Subwoofers benefit from the “subwoofer crawl” technique. Place the sub in the primary seat, play bass-heavy content, then crawl around the room’s perimeter listening for the spot with the smoothest, deepest bass. That’s where the subwoofer goes. Corner placement maximizes output but can cause bloated bass. Mid-wall locations offer better control.
Projectors require specific throw distances. A projector with a 1.5:1 throw ratio needs 15 feet of distance to project a 120-inch diagonal image (10 feet wide). Short-throw models (0.8:1 or less) fit rooms with limited depth. Mount projectors to ceiling joists with lag bolts, toggle anchors in drywall won’t hold long-term. Run HDMI cables through conduit for future upgrades.
Display height for TVs and projection screens centers the screen’s midpoint at seated eye level. For a typical 42-inch seat height, the screen center should land around 40 to 44 inches from the floor. Higher placement causes neck strain during two-hour movies.
Seating Arrangements and Viewing Angles
Seating geometry affects comfort and image quality. Poor angles lead to distorted pictures and unbalanced sound.
Viewing angles shouldn’t exceed 30 degrees off-axis from the screen’s center for the outermost seats. Beyond that threshold, LCD and OLED panels show color shifts and reduced brightness. Arrange seating in a shallow arc or straight row, not a deep U-shape.
Row spacing requires 36 to 40 inches of clearance between rows for walkability. Theater-style recliners need more, plan for 48 inches to accommodate extended footrests. Cramped spacing turns a home theater into an obstacle course.
Riser height for second and third rows should provide 12 inches of vertical sightline clearance. If the front row seats place eyes 42 inches off the floor, the second row needs a 12-inch riser to put eyes at 54 inches (accounting for seat compression). Build risers from 2×10 joists on 16-inch centers with 3/4-inch plywood decking. Carpet over 1/2-inch padding dampens footfall noise.
Seating types range from dedicated theater recliners with cup holders and USB ports to modular sectionals. Dedicated recliners offer better lumbar support and adjustability but cost $800 to $2,000 per seat. Sectionals accommodate more people at lower cost but lack individual controls. Test before buying, spending three hours in an uncomfortable seat ruins any movie.
Accessible seating requires level floor space for wheelchairs. The Americans with Disabilities Act (ADA) guidelines, while not mandatory for private residences, offer good design standards: a 36-inch-wide by 48-inch-deep clear space with companion seating adjacent.
Lighting Design for Optimal Viewing Experience
Lighting control separates decent home theaters from great ones. Uncontrolled light sources cause screen glare and washed-out images.
Ambient lighting during movies should stay below 10 lux at the screen, roughly equivalent to a single 7-watt LED bulb in a 200-square-foot room. Dimmable LED fixtures on smart switches allow precise control. Wall sconces with upward-facing shades bounce light off ceilings, avoiding direct glare into viewers’ eyes.
Bias lighting behind screens reduces eye strain by narrowing the contrast between bright displays and dark surroundings. Adhesive LED strips (6500K color temperature) mounted on the back of a TV or screen frame work well. Keep brightness around 10% of the screen’s peak output.
Step lights or rope lighting along risers and aisles provide safety during movies without spilling onto the screen. Recessed step lights (120V or low-voltage 12V options) install flush with riser faces. Low-voltage systems require transformers but offer easier DIY installation since they don’t fall under National Electrical Code (NEC) article 210 branch circuit requirements.
Window treatments need total blackout capability. Cellular blackout shades block 99% of light and add insulation. Heavier options include blackout curtains (look for fabrics with acrylic or rubber backing) layered over roller shades. Avoid gaps at the sides, mount curtain rods 3 to 6 inches beyond the window frame and use wraparound brackets.
Control systems integrate lighting with AV equipment. Smart home platforms like Control4 or Savant automate lighting scenes, press “Movie Mode” and lights dim while the screen and speakers power on. Budget-friendly alternatives include Lutron Caseta dimmers paired with programmable routines.
Soundproofing and Acoustic Treatment Tips
Soundproofing keeps theater noise from disturbing the rest of the house (and neighbors). Acoustic treatment optimizes sound quality inside the room. They’re not the same thing.
Soundproofing relies on mass, decoupling, and damping. Add mass with additional drywall layers, two layers of 5/8-inch Type X drywall (fire-rated) on walls significantly reduce sound transmission. Decouple surfaces using resilient channels or staggered stud walls (2×4 studs on separate plates, 1 inch apart). Fill cavities with fiberglass or mineral wool insulation.
Green Glue (a viscoelastic damping compound) between drywall layers converts sound energy to heat. Apply two tubes per 4×8 sheet using a caulk gun in a random squiggle pattern. It’s messy but effective, adds 5 to 9 STC points depending on configuration.
Doors need solid-core construction (1-3/4 inches thick) with weatherstripping and automatic door bottoms. Hollow-core doors do nothing for sound isolation. Consider double doors with an air gap (like an airlock) for serious soundproofing.
Acoustic treatment addresses reflections, standing waves, and flutter echo. First reflection points, where sound bounces off walls between speakers and listeners, need absorption panels. Locate these points using a mirror: sit in the main seat and have someone slide a mirror along the wall. Where you see a speaker’s reflection, mount a 2-inch-thick absorption panel.
Bass traps in corners control low-frequency buildup. DIY options include stacked Rockwool Safe’n’Sound panels (3 to 4 inches total thickness) in fabric-covered frames. Commercial bass traps from GIK Acoustics or ATS Acoustics offer higher performance but cost $100+ per unit.
Diffusion panels scatter sound reflections without deadening the room. Skyline or quadratic diffusers (available as DIY plans or ready-made) work on rear walls to prevent slap-back echo. Overdoing absorption creates a lifeless, echoey space, balance absorption with diffusion for natural sound.
Many homeowners underestimate the impact of strategic acoustic improvements on overall performance. Even modest treatment transforms muddy dialogue into crisp clarity and tightens bass response noticeably.
Professional acoustic consultation runs $500 to $1,500 but can prevent expensive mistakes. Some consultants offer remote analysis using room measurements and photos, useful for DIYers who want expert input without on-site visits.