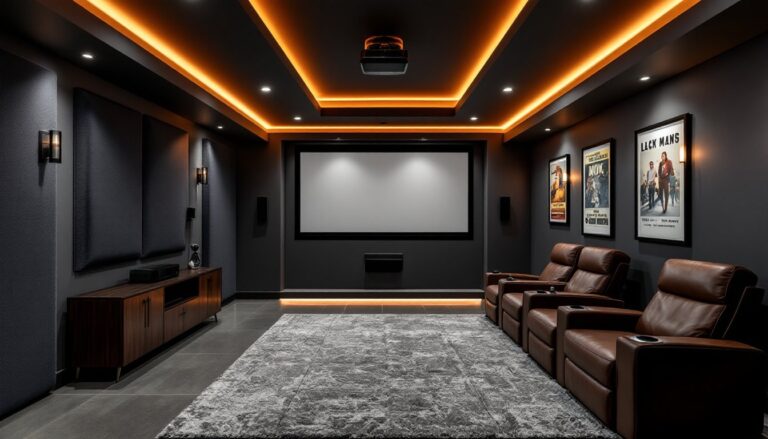
Light control makes or breaks a home theater. Even the best projector can’t compete with afternoon sun streaming through bare windows. Screen glare, washed-out colors, and visible reflections turn movie night into a squinting exercise. The right blinds solve this problem, blocking ambient light, reducing heat gain, and creating the dark environment that lets projection systems and TVs perform as designed. They also reduce energy costs and give viewers control over the room’s atmosphere. Choosing blinds for a dedicated theater space isn’t the same as picking bedroom window treatments, and understanding the differences helps homeowners make smarter decisions.
Table of Contents
ToggleKey Takeaways
- Home theater blinds with 98-100% blackout capability eliminate screen glare and restore contrast, allowing projectors and TVs to display full detail in dark scenes.
- Motorized and smart home theater blinds offer convenience and automation features like voice control, scheduling, and scene integration, with quiet motors rated below 40 dB for uninterrupted viewing.
- Cellular (honeycomb) shades provide dual benefits—superior light blocking and insulation value (R-2 to R-5)—reducing both ambient light interference and energy costs.
- Proper installation with side channels, cassette housings, and outside-mount positioning is critical to achieve near-total darkness and prevent light leakage around blind edges.
- Blackout blinds also reduce external noise transmission and heat gain, contributing to a quieter, more comfortable theater environment with lower HVAC operating costs.
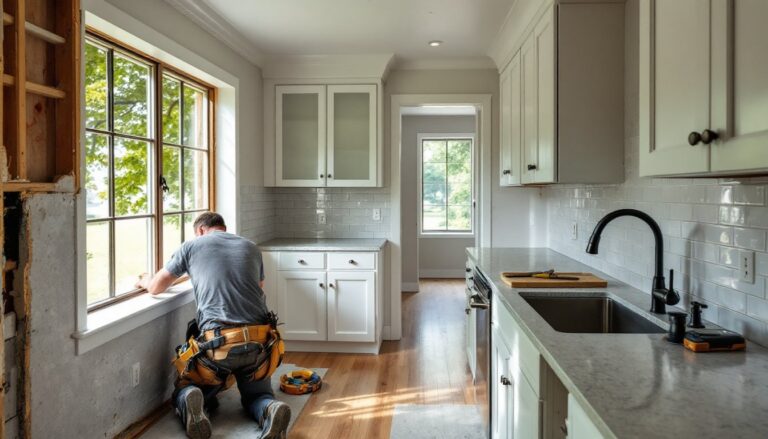
Why Your Home Theater Needs the Right Window Treatments
Projectors rely on contrast. When ambient light enters the room, it reflects off the screen surface and dilutes black levels, turning deep shadows into muddy grays. Even high-end 4K projectors lose detail in dark scenes when there’s uncontrolled light. TVs fare better but still suffer from glare and reduced perceived contrast.
Blackout window treatments eliminate this issue. They block 99% or more of incoming light, allowing the display to control the entire visual environment. This matters most during daytime viewing or in rooms with streetlights, neighbor windows, or south-facing exposures.
Heat gain is another factor. Direct sunlight raises room temperature, forcing HVAC systems to work harder. Cellular shades and honeycomb blinds with insulating air pockets reduce thermal transfer. In summer, this keeps the theater cooler: in winter, it helps retain heat. Lower energy use translates to cost savings over time.
Sound isolation improves with layered window treatments. While blinds won’t soundproof a room, dense cellular fabrics and tightly fitted mounts reduce external noise transmission. Paired with acoustic panels and door seals, they contribute to a quieter viewing space.
Finally, convenience matters. Fumbling with cords or lifting heavy shades in the dark interrupts the experience. Motorized options let users close blinds from the couch, tie into smart home routines, and schedule operation based on sunset times or movie schedules.
Best Types of Blinds for Home Theater Rooms
Blackout Blinds and Shades
Roller shades with blackout fabric are the most common choice. They mount inside or outside the window frame, roll up into a compact cassette, and provide a clean look. Fabric options include vinyl-backed polyester (budget-friendly, blocks light but may wrinkle) and woven blackout textiles (premium, better drape and durability). Look for side channels, aluminum or plastic tracks that seal the edges and prevent light leakage around the shade perimeter. Without side channels, expect visible light bars along the window sides even with the shade fully lowered.
Cellular (honeycomb) shades offer dual benefits: light blockage and insulation. The honeycomb structure traps air, creating an R-value that reduces heat transfer. Blackout cellular shades typically use a reflective backing or dense liner. They’re available in single-cell (¼” to ½” pleats) and double-cell (¾” to 2″ pleats). Double-cell models provide better insulation but cost more and stack higher when raised. Cordless and top-down/bottom-up configurations add flexibility.
Roman shades with blackout linings work for homeowners who want a softer, more decorative appearance. Fabric folds create horizontal pleats when raised. They suit smaller windows but can feel heavy and require more stack space than rollers. Not ideal for wide or tall windows due to weight and uneven light gaps at fold lines.
Vertical blinds are less common but functional for sliding glass doors leading to patios or balconies. Blackout vanes in 3.5″ to 4.5″ widths rotate to control light and stack to one side when open. They’re practical but don’t seal as well as shades with side channels.
Motorized and Smart Blinds
Motorization eliminates manual operation. Battery-powered motors (typically AA or rechargeable lithium-ion) install without hardwiring, though they require periodic charging or battery swaps. Hardwired motors connect to household electrical via a junction box, cleaner long-term but require a licensed electrician if no existing outlet is nearby.
Smart integration lets blinds respond to voice commands, app control, or automation triggers. Popular platforms include Zigbee, Z-Wave, and Wi-Fi-based systems compatible with Alexa, Google Assistant, or Apple HomeKit. Users can set schedules (close at sunset, open at 8 a.m.), link blinds to lighting scenes, or tie them into whole-home automation. Many motorized systems designed for theaters offer quiet operation, motors rated at 35-40 decibels won’t disturb dialogue during a movie.
Cost varies. Basic motorized roller shades start around $200-$300 per window (DIY install, no smart features). Smart-enabled models with app control range from $350-$600+, depending on size and brand. Hardwired installation adds $100-$200 per window in labor if an electrician is needed.
Key Features to Look for in Home Theater Blinds
Light-blocking performance is the priority. Look for products labeled “blackout” or “room-darkening.” Blackout means 98-100% opacity: room-darkening allows 5-10% light transmission. Test samples if possible, hold fabric up to a bright window and check for pinholes or translucency.
Side channels and cassette housings reduce light leakage. Side channels are U-shaped tracks mounted on the window frame or wall that the shade edges slide into. Cassette housings enclose the roller tube at the top, blocking the light gap above the fabric. Together, they deliver near-total darkness.
Fabric durability and maintenance matter for long-term use. Vinyl-backed fabrics resist moisture and clean easily but may yellow over years of sun exposure. Polyester and woven blends hold color longer. Avoid PVC-free “eco” fabrics unless they specify UV stability, some fade or become brittle.
Insulation value helps with energy efficiency. Cellular shades list R-values (typically R-2 to R-5 for double-cell blackout models). Higher R-values mean better thermal resistance. This feature pays off in rooms with large windows or extreme climates.
Mounting options include inside mount (fits within the window frame) and outside mount (covers frame and wall). Inside mounts look cleaner but may leave light gaps if the window isn’t perfectly square. Outside mounts extend 2-4 inches beyond the frame on all sides, blocking more light and accommodating uneven openings.
Noise rating applies to motorized blinds. Motors rated below 40 dB won’t interrupt viewing. Cheaper motors may buzz or hum, worth checking reviews or requesting a demo.
Warranty and support vary by manufacturer. Reputable brands offer 3-5 years on mechanics and fabric. Motorized components often have separate warranties (motor vs. controls). Confirm whether the warranty covers DIY installation or requires professional setup.
How to Install Home Theater Blinds (DIY Guide)
Tools and materials:
- Measuring tape
- Level (24″ recommended)
- Cordless drill with bits
- Screwdriver (Phillips and flathead)
- Pencil
- Stud finder (for outside mounts)
- Safety glasses
- Ladder or step stool
- Mounting brackets (included with blinds)
- Screws (provided, or use #8 x 1.5″ wood screws for solid wood, #10 x 2″ for drywall anchors)
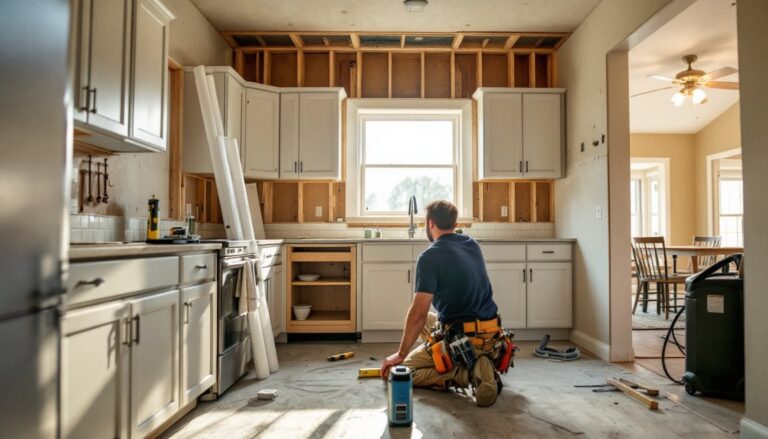
Step 1: Measure the window
For inside mounts, measure the width at the top, middle, and bottom of the window opening. Use the narrowest measurement and subtract ¼” for clearance. Measure height from the top of the opening to the sill in three places: use the longest.
For outside mounts, measure the width of the area to be covered (typically frame width plus 4-6 inches total). Measure height from desired top position to below the sill.
Double-check all measurements. Custom-cut blinds can’t be returned.
Step 2: Mark bracket positions
Most roller and cellular shades use two to four brackets. Mark the top center of the window opening (inside mount) or the wall above the frame (outside mount). Use the level to ensure the line is horizontal, off-level mounts cause uneven operation.
Space brackets per manufacturer specs, typically 6-8 inches from each end and every 24-30 inches for wide windows. For outside mounts on drywall, locate studs with the stud finder and anchor brackets into solid wood when possible. If no stud is available, use plastic or metal drywall anchors rated for at least 20 lbs each.
Step 3: Install brackets
Drill pilot holes using a bit slightly smaller than the screw diameter (1/8″ for #8 screws). This prevents splitting wood and ensures straight insertion. Attach brackets with provided screws, driving them snug but not over-tightened (which can strip threads or crack plastic brackets).
For motorized blinds with battery packs, confirm which end houses the motor. Some models require the motor side to be installed on a specific bracket orientation.
Step 4: Mount the blind
Snap or slide the headrail into the brackets per the installation guide. Most roller shades use a hook-and-clip system: cellular shades may have twist-lock brackets. Test the fit before releasing, headrails can drop if not seated correctly.
For motorized units, connect the motor to its controller or pair it with the app before final mounting. This allows troubleshooting without removing the blind.
Step 5: Test operation and adjust
Lower and raise the blind several times. Check for smooth travel, even alignment, and full extension. If the blind tilts or binds, loosen brackets slightly and re-level. Adjust tension settings on spring-loaded shades if the fabric doesn’t retract fully.
For blackout performance, close the blind and inspect edges, top, and bottom for light leaks. Add weatherstripping or adjust side channels if needed.
When to call a pro:
Hardwired motorized blinds require an electrician unless an existing outlet is within 6 feet of the window and code-compliant. Wide or tall windows (over 8 feet) may need two-person installation to avoid bending the headrail. If the window frame is damaged, rotted, or structurally unsound, repair it before mounting blinds.
Conclusion
The right blinds turn a bright room into a true theater. Blackout fabrics, side channels, and motorized convenience deliver the light control that projectors and TVs need to perform at their best. Measure carefully, choose features that match the room’s use, and don’t skip the prep work. Properly installed window treatments enhance home theater setups and create the environment where movies, sports, and gaming look the way they’re supposed to.