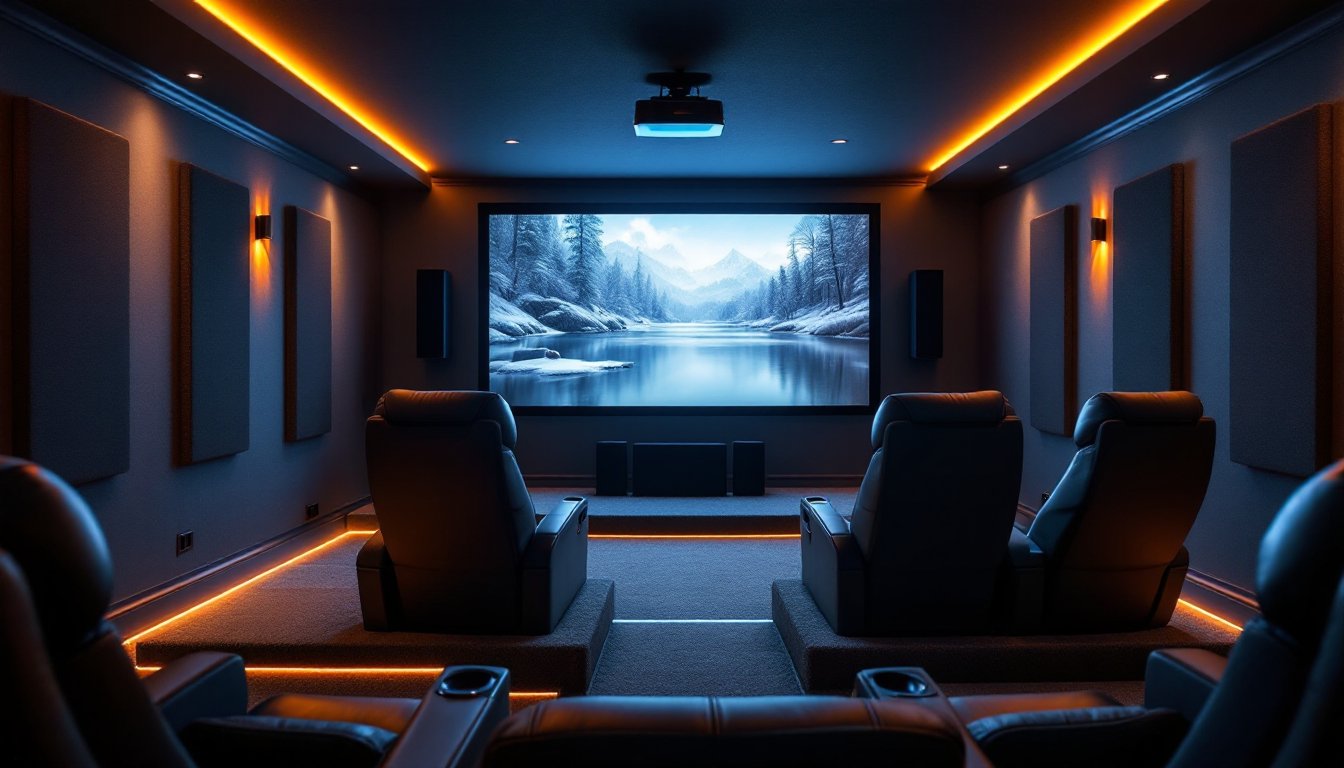
Atlanta’s diverse housing stock, from Craftsman bungalows in Virginia-Highland to sprawling ranch homes in Dunwoody, offers plenty of opportunity for dedicated home theater setups. With the rising cost of tickets, parking, and concessions, more homeowners are converting spare bedrooms, basements, and bonus rooms into private screening rooms. This guide walks through the planning, equipment, installation, and budgeting decisions specific to Atlanta homeowners looking to build a theater that rivals commercial cinemas without the hassle of I-285 traffic.
Table of Contents
ToggleKey Takeaways
- Home theater installation in Atlanta is increasingly popular due to rising cinema costs, hot summer weather, and remote work creating dual-purpose spaces in spare rooms and basements.
- Select a room at least 12 feet by 15 feet with standard 8-foot ceilings and strong electrical access (two dedicated 20-amp circuits) to avoid common installation pitfalls.
- A 5.1-channel audio system with a 4K projector and acoustically transparent screen forms the foundation of quality home theater, with 7.1 or 7.2 systems recommended for rooms over 18 feet long.
- Professional home theater installation in Atlanta ranges from $2,000 to $5,000 for mid-tier systems, though DIY approaches work well for simpler setups if you’re comfortable with basic tools.
- Acoustic treatment (covering 20% of walls with panels, adding bass traps in corners, and installing proper lighting controls) separates a mediocre home theater from an immersive cinematic experience.
- Budget $3,000 to $50,000+ depending on your tier, account for ongoing projector bulb replacement costs, and prioritize sound quality over screen size for the best long-term investment.
Why Atlanta Homeowners Are Investing in Home Theaters
Atlanta’s housing market has seen steady appreciation, and homeowners are increasingly viewing entertainment upgrades as value-add improvements. A well-executed home theater appeals to families who want movie nights without the drive to Atlantic Station or Avalon, and it’s a strong selling point in competitive neighborhoods like Decatur and Smyrna.
The climate plays a role, too. Summer afternoons push temperatures into the 90s with high humidity, making air-conditioned indoor entertainment more attractive than outdoor gatherings. A basement or interior room stays cool year-round and doubles as a refuge during severe weather alerts, common in Georgia’s spring tornado season.
Remote work has also shifted how Atlantans use their homes. Spare bedrooms and finished basements that once sat idle now serve dual purposes: Zoom rooms by day, screening rooms by night. Soundproofing and acoustic treatments designed for video calls translate directly to better theater sound quality.
Planning Your Home Theater: Room Selection and Layout Considerations
Room selection sets the foundation for everything else. Basements are popular in North Atlanta suburbs, Alpharetta, Roswell, Johns Creek, where most homes have them. They offer natural sound isolation and minimal exterior light intrusion. Walk-out basements are common here, so block windows with blackout shades or build a stud wall in front of them.
Bonus rooms and converted bedrooms work well in ranch-style homes without basements. Look for rooms at least 12 feet by 15 feet to accommodate a 100-inch projection screen and adequate seating distance. Smaller spaces force viewers too close to the screen, causing eye strain.
Avoid rooms with vaulted ceilings unless you’re prepared to add acoustic panels. Sound bounces off angled surfaces unpredictably, muddying dialogue and bass response. Standard 8-foot ceilings are easier to treat and wire.
Electrical access is critical. Most theater setups require at least two dedicated 20-amp circuits: one for the projector and screen, another for amplification and speakers. If your room lacks sufficient outlets, hire a licensed electrician. Atlanta follows the National Electrical Code (NEC), and DIY wiring may void homeowner’s insurance if not inspected.
Check floor joists if installing a projector mount in a bonus room. Ceiling mounts need solid backing, either a joist or blocking between joists. If you’re unsure, a stud finder with deep-scan mode helps, but verifying load-bearing capacity may require removing a small section of drywall.
Essential Equipment for Your Atlanta Home Theater
Start with the display. Projectors dominate dedicated home theaters because they deliver 100-inch to 120-inch diagonal images without the cost or weight of comparable flat panels. Look for models with at least 2,000 lumens brightness if you can’t fully blackout the room. For basements with zero ambient light, 1,500 lumens is adequate.
Fixed-frame screens provide the flattest surface and best image quality. Acoustically transparent screens allow you to mount front speakers behind the fabric, simplifying speaker placement and improving dialogue clarity. Motorized screens work for multi-use spaces but add cost and potential mechanical failure.
Audio separates home theaters from living room setups. A 5.1-channel system is the baseline: three front speakers (left, center, right), two surrounds, and one subwoofer. Upgrade to 7.1 or 7.2 if your room exceeds 18 feet in length. The extra rear surrounds fill sound gaps in larger spaces.
AV receivers decode audio formats and power speakers. For systems featuring smart home product reviews compatibility, look for receivers with HDMI 2.1, which supports 4K at 120Hz and eARC (enhanced Audio Return Channel). Match receiver wattage to speaker sensitivity, 75 to 100 watts per channel handles most bookshelf and tower speakers.
Run 16-gauge speaker wire for runs under 50 feet, 14-gauge for longer distances. In-wall-rated wire (CL2 or CL3) is required by code if you’re fishing cables through walls or ceilings. Surface-mount wire channels work for basement installs where drywall is already finished and you want to avoid patching.
Streaming devices, Blu-ray players, and game consoles connect via HDMI. Plan for at least four HDMI inputs on your receiver to avoid constant cable swapping.
DIY vs. Professional Installation: What Atlanta Homeowners Should Know
DIY installation saves money and works well for smaller systems. Mounting a projector, running speaker wire, and configuring an AV receiver are within reach for anyone comfortable with a drill, stud finder, and basic soldering iron.
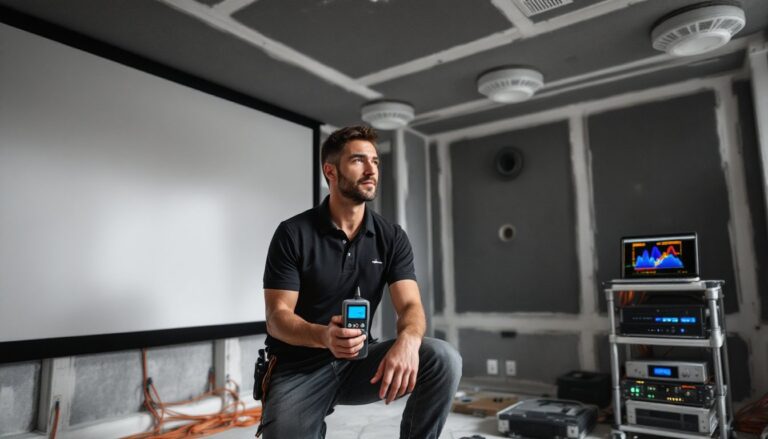
Where DIY gets tricky: in-wall wiring in finished rooms, acoustic treatments that require precise placement, and calibrating surround sound with measurement microphones. If you’re converting a room with existing drywall, fishing wire through walls without damaging insulation or hitting plumbing is frustrating and time-consuming.
Professional installers bring expertise in Atlanta-specific challenges, crawl spaces with limited clearance, older homes with knob-and-tube wiring, and retrofit work in townhomes with shared walls. Installers verified through contractor matching platforms typically carry liability insurance and pull permits when needed.
Expect to pay $2,000 to $5,000 for professional installation of a mid-tier system, including labor for wiring, mounting, calibration, and acoustic panel installation. Higher-end systems with automated lighting, motorized shades, and whole-home audio integration can push costs to $10,000 or more.
If you’re handy but need help with specific tasks, like running wire through a finished ceiling or installing a ceiling-mounted projector in a room with no attic access, consider a hybrid approach. Handle the gear selection and basic setup yourself, then bring in a pro for the challenging parts. Many installers offer hourly consulting rates instead of full turnkey pricing.
Permits aren’t typically required for low-voltage wiring (speaker cable, HDMI), but any modification to electrical circuits requires a permit in the City of Atlanta and most surrounding counties. Check with your local building department before adding outlets or circuits.
Budgeting for Your Home Theater Project in Atlanta
Budget planning should account for equipment, installation, room treatment, and contingencies. Here’s a realistic breakdown for three tiers:
Entry-level ($3,000–$6,000): 1080p projector, 100-inch fixed-frame screen, 5.1 receiver and speaker package, basic seating (existing furniture or budget recliners), DIY installation. Expect to spend around $800 on the projector, $300 on the screen, $1,200 on receiver and speakers, and the remainder on wiring, mounts, and acoustic panels.
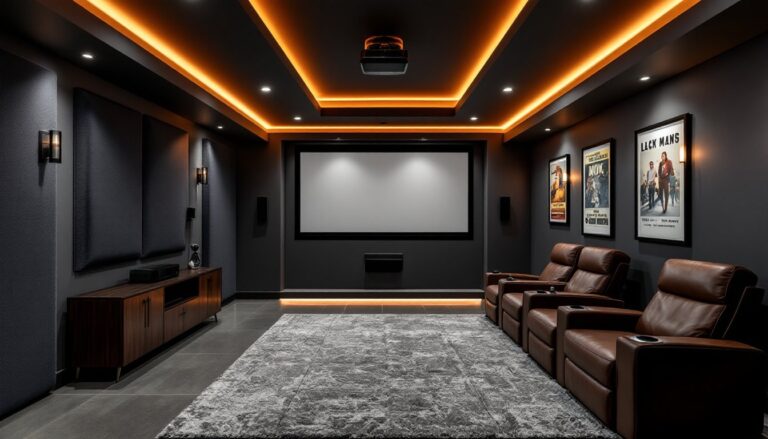
Mid-tier ($8,000–$15,000): 4K HDR projector, acoustically transparent screen, 7.1 or 7.2 system with in-ceiling surrounds, dedicated theater seating (two to four recliners), professional installation, and basic acoustic treatment (wall panels, bass traps). This tier delivers noticeable improvements in image clarity and sound staging.
High-end ($20,000–$50,000+): Native 4K laser projector, motorized screen, Atmos-capable receiver with 9.2 or more channels, in-wall speakers, custom cabinetry, automated lighting and shades, and full acoustic design. This range includes smart home integration and may involve structural work like building a false wall to hide speakers and equipment.
Atlanta’s cost of living sits slightly below coastal cities but above rural Georgia. Labor rates for licensed electricians run $75 to $125 per hour. Custom cabinetry and trim work costs $100 to $200 per linear foot, depending on the shop.
Don’t forget ongoing costs. Projector bulbs (on lamp-based models) need replacement every 2,000 to 5,000 hours at $150 to $400 each. Laser projectors eliminate this expense but carry higher upfront costs.
Home theater upgrades rarely recoup full cost at resale, but they improve marketability in neighborhoods where buyers expect finished basements and entertainment spaces. Keep receipts and documentation for improvements that required permits, it helps during appraisals and inspections.
Optimizing Acoustics and Lighting for the Best Experience
Acoustics separate mediocre theaters from immersive ones. Bare drywall reflects sound, creating echo and muddying dialogue. Cover at least 20% of wall surface area with 2-inch acoustic panels to reduce reflections. Focus on the side walls at first reflection points, the spot where sound from the front speakers bounces toward the seating area.
Bass traps go in corners, where low-frequency energy accumulates. Use 4-inch-thick panels or purpose-built corner traps. Without them, bass sounds boomy and uneven across seating positions.
Carpet or area rugs on hard floors reduce floor reflections. If installing carpet, use padding underneath, it absorbs more sound than carpet alone. Luxury vinyl plank and hardwood look sharp but reflect sound: balance aesthetics with a large area rug in the seating zone.
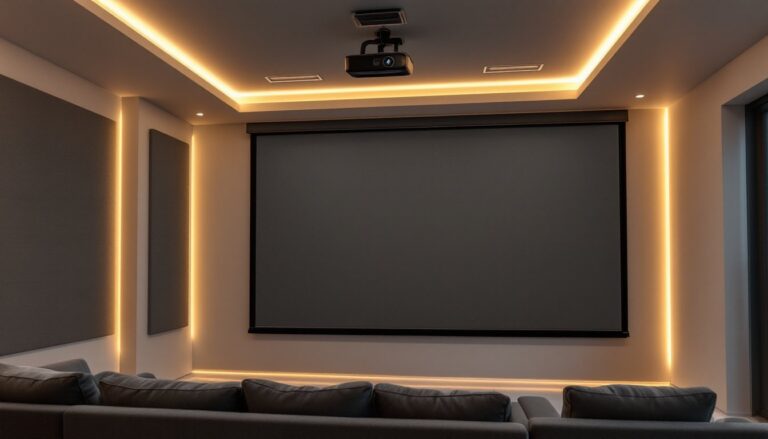
Lighting control is non-negotiable. Blackout roller shades or cellular shades block exterior light during daytime viewing. For interior rooms, install a dimmer switch on overhead lights. Sconces or LED strip lighting behind the screen or along baseboards provide ambient light for walking without washing out the image.
Avoid recessed can lights aimed directly at the screen, they create glare. If your room has existing cans, replace the bulbs with smart LEDs that dim to 1% or lower. Traditional incandescent dimmers often bottom out at 10% brightness, which is still too bright for theater use.
Sound isolation matters if your theater shares a wall with bedrooms or neighbors (common in townhomes). Adding a second layer of 5/8-inch drywall with Green Glue viscoelastic compound between layers significantly reduces sound transmission. This is structural work that may require a permit, especially if you’re adding weight to ceiling joists.
For serious isolation, build a room-within-a-room using staggered stud walls and resilient channels to decouple the theater from the rest of the structure. This approach is overkill for most residential setups but necessary in multi-family buildings or homes where the theater sits above occupied living spaces. Checking local reviews for installers can help identify contractors experienced with soundproofing and acoustic optimization in Atlanta homes.
Conclusion
Building a home theater in Atlanta combines smart room selection, equipment matching, and attention to acoustics and lighting. Whether you’re converting a basement in Marietta or a bonus room in Brookhaven, the result is a private entertainment space that serves families for years. Start with a clear budget, prioritize sound quality over screen size, and don’t skip the prep work, measure twice, wire once, and always wear safety glasses when drilling overhead.