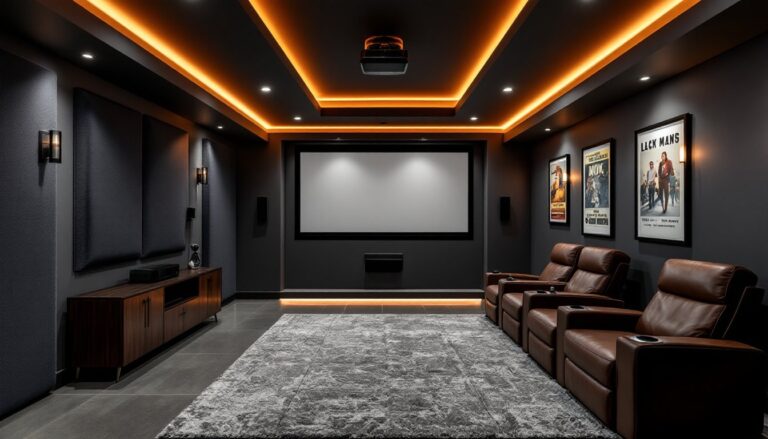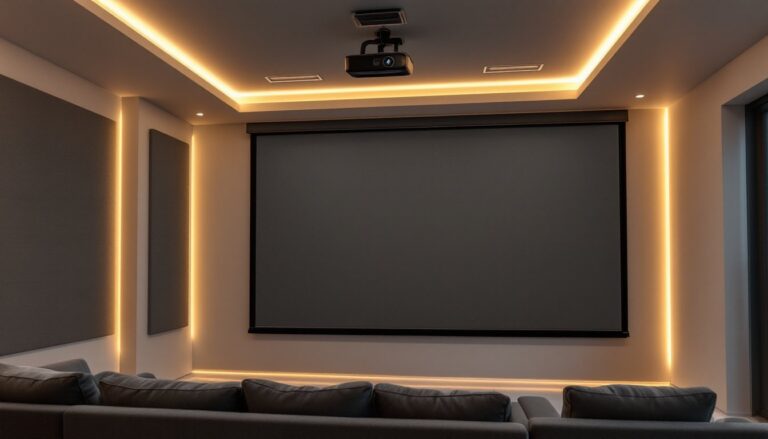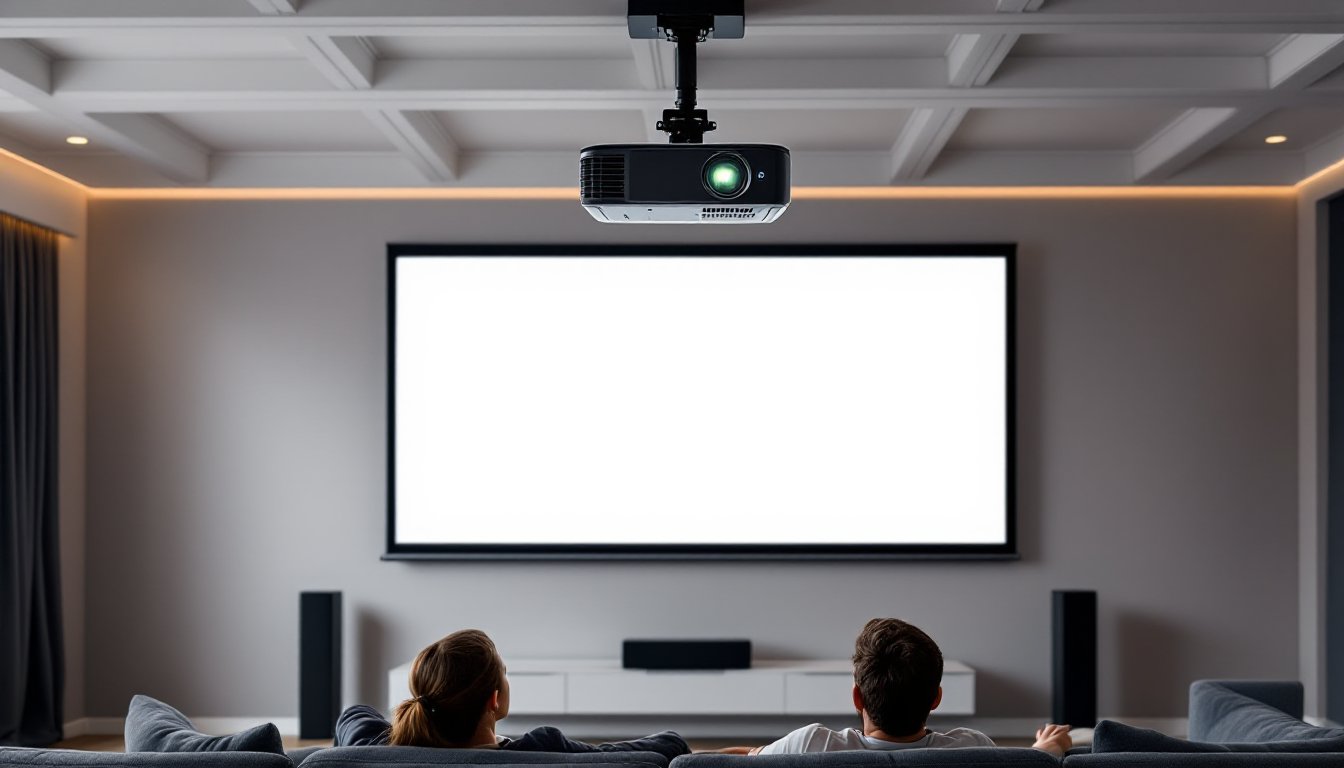
A 1080p projector can transform a spare bedroom, basement, or garage into a legitimate home theater without the premium price tag of 4K models. Full HD resolution delivers crisp, detailed images on screens up to 120 inches, far larger than most TVs, making it a practical choice for weekend movie nights or game-day viewing parties. But not all 1080p projectors are built the same. Brightness levels, throw ratios, and contrast performance vary widely across models, and choosing the wrong spec for a room can mean washed-out images or awkward placement. This guide walks through the technical fundamentals, room planning essentials, and setup strategies to help homeowners pick and install the right HD projector for their space.
Table of Contents
ToggleKey Takeaways
- 1080p projectors deliver crisp images on screens up to 120 inches at 30-50% less cost than 4K models, making them the best value for most home theaters.
- Brightness (measured in ANSI lumens) is the most critical spec—aim for 1,500-2,000 lumens in dark rooms and 2,500-3,000 lumens in living spaces with ambient light.
- Calculate throw distance before purchasing: a projector’s throw ratio determines how far it must sit from the screen, and incorrect spacing can waste money and installation effort.
- Proper mounting requires anchoring ceiling mounts into solid framing with 3-inch lag bolts, ensuring ventilation clearance of 24 inches on the exhaust side, and running cables before installation.
- Screen selection and sound integration matter equally—pair your HD projector with a properly sized screen (matching seating distance and throw ratio) and a 5.1 or 7.1 surround system for an immersive viewing experience.
Why Choose a 1080p Projector for Your Home Theater
1080p remains the sweet spot for most home theater builds in 2026. While 4K projectors have dropped in price, Full HD models still offer the best value when factoring in lamp life, replacement bulb costs, and screen requirements.
A 1920×1080 resolution projector delivers sharp images on screens between 80 and 120 inches diagonal. Beyond that size, pixel structure becomes visible from typical seating distances of 10-12 feet. But for most living rooms and basements, 1080p provides plenty of detail for streaming content, Blu-rays, and gaming.
Lamp-based 1080p projectors typically cost 30-50% less than equivalent 4K models, and replacement bulbs run $100-$200 versus $300+ for higher-resolution units. LED and laser light sources eliminate bulb replacements entirely, though they carry higher upfront costs.
Another advantage: less demanding on source hardware. A 1080p projector doesn’t require HDMI 2.1 cables, high-bandwidth receivers, or a gaming PC with a flagship GPU. Standard HDMI 1.4 cables handle Full HD at 60Hz with no issues, simplifying the equipment rack and reducing troubleshooting headaches.
For DIYers converting a bonus room or garage into a theater space, 1080p projectors also generate less heat than 4K models, which can matter in smaller, poorly ventilated rooms. Lamp-based units still need clearance for exhaust vents, typically 12 inches on the intake side and 24 inches on the exhaust, but they won’t turn a 12×14-foot room into a sauna during a three-hour movie marathon.
Key Features to Look for in HD Home Theater Projectors
Choosing a projector isn’t just about resolution. Brightness, contrast, and throw distance determine whether the unit works in a given room, and whether it delivers a watchable image.
Brightness and Contrast Ratio
Lumens measure light output, and they’re the single most important spec for rooms with ambient light. A basement with blackout curtains can work with 1,500-2,000 lumens. A living room with windows needs 2,500-3,000 lumens minimum, even with shades drawn.
Manufacturers often list “peak” or “color” lumens separately. Focus on ANSI lumens, the standardized measurement. Anything below 1,500 ANSI lumens works only in fully dark rooms and struggles with HDR content.
Contrast ratio affects black levels and shadow detail. A 10,000:1 native contrast ratio produces deep blacks in dark scenes without crushing detail. Dynamic contrast (which adjusts lamp brightness on the fly) inflates specs to 50,000:1 or higher but doesn’t improve real-world performance as much as native contrast.
For mixed lighting conditions, prioritize lumens. For dedicated dark theaters, contrast ratio matters more. Don’t expect a $400 budget projector to excel at both.
Throw Distance and Screen Size Compatibility
Throw ratio determines how far the projector must sit from the screen to fill it. A 1.5:1 throw ratio means the projector needs 15 feet of distance to fill a 10-foot-wide screen (measured diagonally as 120 inches for a 16:9 aspect ratio).
Most home theater projectors have throw ratios between 1.3:1 and 2.0:1. Short-throw models (0.8:1 to 1.2:1) work in tight spaces but cost more and sometimes introduce edge distortion. Ultra-short-throw projectors (0.3:1 or less) sit inches from the wall but require specialized ambient-light-rejecting screens to avoid washed-out images.
Measure the room before shopping. A 12-foot depth limits screen size with a standard throw projector. Many manufacturers provide throw distance calculators on their sites, use them. Mounting a projector 18 feet back only to discover it maxes out at a 90-inch image wastes time and drywall anchors.
Lens shift and keystone correction adjust image placement without moving the projector. Vertical lens shift (physical adjustment) preserves image quality. Digital keystone correction (software warping) degrades sharpness and should be a last resort. If the ceiling height or furniture layout forces an off-center mount, budget for a model with optical lens shift.
Setting Up Your 1080p Projector: Room Planning and Installation Tips
Installation starts with locating ceiling joists or wall studs. Projectors weigh 5-15 pounds, and ceiling mounts must anchor into solid framing, not drywall alone. Use a stud finder and mark joist locations with painter’s tape before drilling.
Universal ceiling mounts fit most projectors and include adjustable arms for pitch, roll, and yaw. Secure the mount with 3-inch lag bolts driven into joists, not toggle bolts. Toggle bolts work for lightweight fixtures but can’t handle the dynamic load of a projector with a cooling fan running at 3,000 RPM.
Run HDMI and power cables through the ceiling or along baseboards before mounting the projector. Standard HDMI cables lose signal integrity beyond 25 feet. For longer runs, use active HDMI cables (with built-in signal boosters) or HDMI-over-Cat6 extenders rated for 1080p at 60Hz. Avoid cheap “high-speed” cables from big-box stores, they work fine for 6-foot runs but fail at distance.
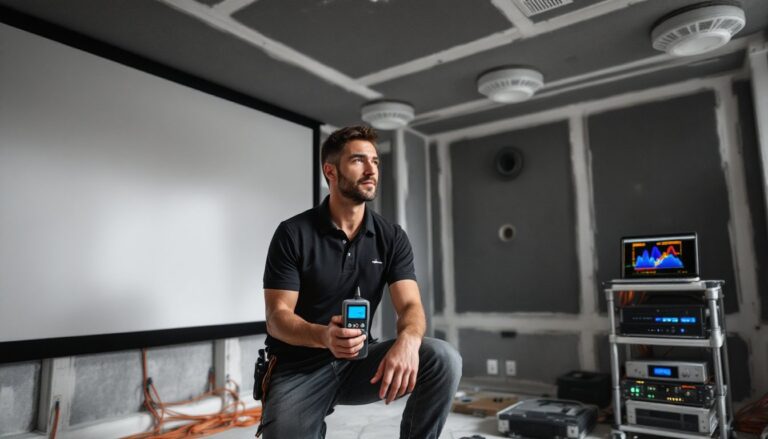
Ventilation matters. Lamp-based projectors exhaust hot air. If ceiling-mounted, ensure the exhaust side has at least 24 inches of clearance and doesn’t blow directly onto drywall or a smoke detector. Some HOA-controlled communities or local building codes require hardwired smoke detectors in finished basements, don’t disable them to install a projector.
Most home tech installations recommend running power through a dedicated 15-amp circuit if adding a projector, AV receiver, subwoofer, and speaker amplifiers. A single outlet on a shared circuit can trip breakers during peak draw, especially if the same circuit powers recessed lighting or a mini-fridge.
Calibration takes time. Once mounted, adjust the image using the projector’s test pattern. Align edges parallel to the screen frame, tweak focus across the entire image plane, and confirm no hot-spotting (uneven brightness) in the center. If the image bows or corners blur, the projector isn’t perpendicular to the screen, recheck the mount’s level and adjust pitch/yaw.
Dedicated theater rooms benefit from light control. Paint walls and ceilings matte black or dark gray to reduce reflections. Glossy paint or white ceilings bounce stray light back onto the screen, killing contrast. Blackout curtains or cellular shades with side tracks block ambient light better than standard blinds.
Safety reminder: Always wear safety goggles when drilling into ceilings. Drywall dust and insulation fibers fall directly into eyes. Use a dust mask if working in unfinished spaces with blown-in insulation.
Optimizing Your Viewing Experience: Screen Selection and Sound Integration
A white wall works in a pinch, but a proper projector screen dramatically improves image quality. Screens are rated by gain, a measure of reflectivity. A 1.0 gain screen reflects light evenly in all directions. A 1.3 gain screen focuses more light toward the seating area, boosting perceived brightness but narrowing the viewing angle.
For rooms with some ambient light, consider a gray screen (0.8-0.9 gain). Gray screens improve black levels by absorbing stray light, making dark scenes more watchable without full blackout conditions. High-gain screens (1.5 or higher) work for underpowered projectors but create hot-spotting and uneven brightness if viewers sit off-axis.
Fixed-frame screens mount flush to the wall and stay tensioned, eliminating waves or ripples. Motorized retractable screens tuck into the ceiling when not in use but cost 2-3x more and require low-voltage wiring. Pull-down manual screens are the budget option but rarely stay perfectly flat.
Screen size should match the throw distance and seating layout. For a 16:9 aspect ratio (standard for HD content), calculate diagonal screen size by dividing seating distance by 1.5. A 12-foot viewing distance suggests an 8-foot diagonal (roughly 96 inches). Going larger crowds peripheral vision and causes eye strain during long viewing sessions.
Material matters. Matte white vinyl works for most setups. Acoustic-transparent screens (with micro-perforations) allow center-channel speakers to hide behind the screen, but they reduce brightness by 10-15% and cost significantly more. Weigh that trade-off carefully, most DIY setups place the center channel below the screen with no issues.
Sound integration often gets overlooked until after the projector is mounted. Projector fans generate 25-35 dB of noise, audible during quiet dialogue scenes. Ceiling-mounting the projector 10+ feet from seating helps, but don’t expect silent operation.
A 5.1 or 7.1 surround sound system requires an AV receiver, speaker wire runs, and careful speaker placement. Front left and right speakers flank the screen at ear height. The center channel mounts directly above or below the screen. Surrounds go 2-3 feet above seated ear level, angled toward the primary seating row.
Run 16-gauge speaker wire for runs under 50 feet, 14-gauge for longer distances. Code doesn’t require conduit for low-voltage speaker wire, but fishing it through walls before drywall goes up saves hours of frustration. Label both ends of every wire run, untangling six identical black cables behind an equipment rack isn’t fun.
Subwoofer placement is flexible since bass frequencies are non-directional. Corner placement reinforces low-end output but can cause boomy, uneven response. The “subwoofer crawl” method works: place the sub in the primary seating position, play bass-heavy content, then crawl around the room’s perimeter listening for the spot with the smoothest, most even bass. That’s where the subwoofer goes.
For projector buying tips, many experts recommend testing screen placement before committing to permanent mounts. Tape off the screen’s footprint on the wall and live with it for a week to confirm sightlines and seating angles work.
Conclusion
A well-planned 1080p projector setup delivers big-screen performance without the complexity or cost of cutting-edge 4K systems. Focus on room-appropriate brightness, accurate throw distance calculations, and solid mounting practices. Pair the projector with a properly sized screen and a competent sound system, and the result is a home theater that handles everything from weeknight streaming to weekend movie marathons. Take the time to plan cable runs, control ambient light, and dial in the image, those details separate a functional setup from one that actually gets used.