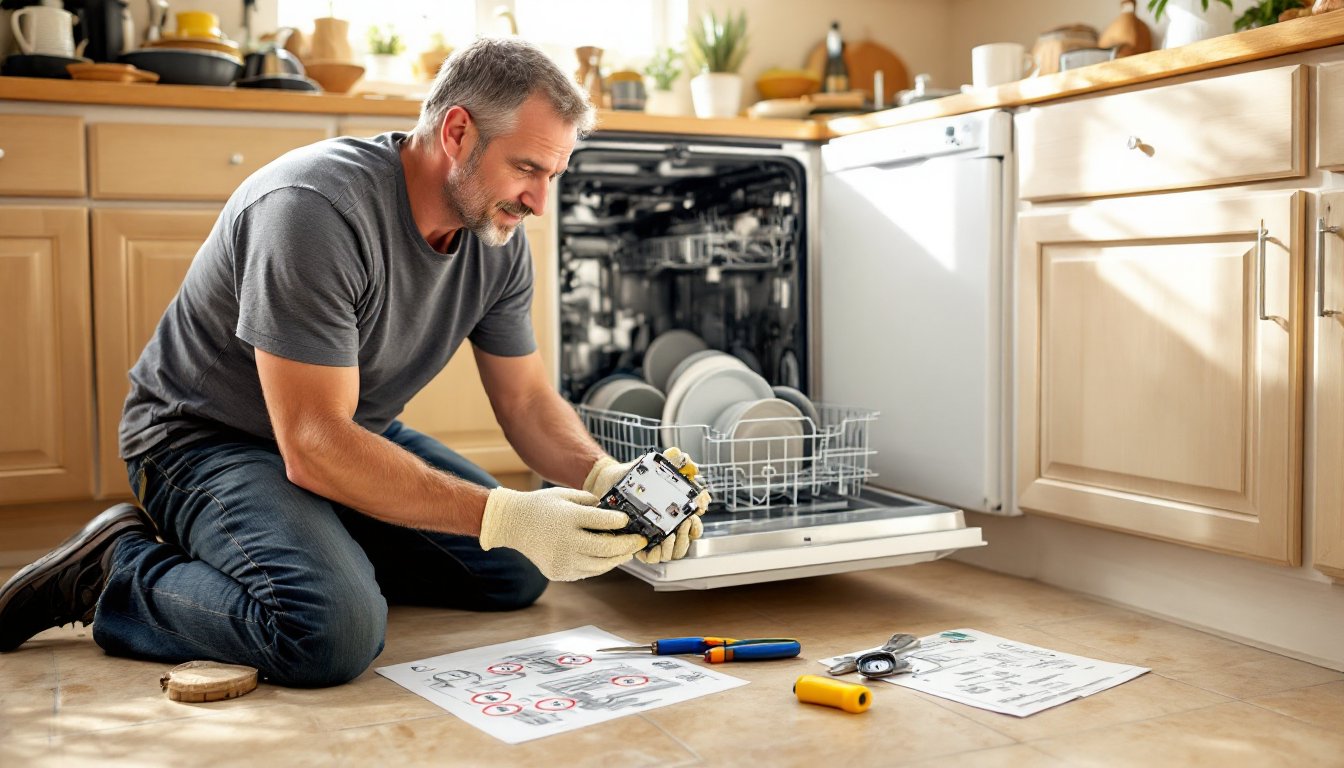
Estate dishwashers, originally a mid-tier brand under the Whirlpool Corporation umbrella, still run in thousands of kitchens even though production ending years ago. When one of these workhorses starts leaking, failing to drain, or refusing to latch, the challenge isn’t just diagnosing the problem, it’s tracking down the right replacement part. Unlike actively marketed brands with robust parts networks, Estate components require a bit more detective work. The good news? Most parts are still available through Whirlpool’s supply chain and aftermarket suppliers, and many repairs are manageable for a homeowner with basic tools and patience.
Table of Contents
ToggleKey Takeaways
- Estate dishwasher parts remain available through Whirlpool’s supply chain and aftermarket suppliers because Estate was a Whirlpool subsidiary brand with components shared across multiple platforms.
- Always locate your model number (usually starting with ‘E’) on the door or tub label before searching for estate dishwasher parts, and photograph it to prevent ordering errors.
- Door latch assemblies are the most frequently failing component on Estate dishwashers, costing $25–$60 to replace and causing complete shutdown when they fail.
- Always disconnect power at the breaker and shut off the water supply before starting any estate dishwasher repair to ensure safety and prevent water damage.
- For Estate units over 12 years old experiencing multiple part failures, replacement often makes more financial sense than pursuing multiple repairs on aging appliances.
- Common replacement parts like door gaskets ($15–$30), spray arms ($15–$40), and inlet valves ($30–$80) are manageable DIY repairs with basic hand tools and patience.
Understanding Estate Dishwasher Models and Common Part Failures
Estate dishwashers were manufactured primarily between the late 1990s and mid-2000s, sharing platforms and components with Whirlpool, Roper, and KitchenAid models. This overlap is crucial, many parts are interchangeable across these brands, which expands sourcing options significantly.
The model number, typically located on a sticker inside the door frame or along the inner tub edge, is the key to finding correct parts. It usually starts with “E” followed by a series of numbers and letters (e.g., EUD4000BA). Write this down before starting any parts search.
Common failure points reflect the age of these units. Door latch assemblies wear out from repeated use, preventing the dishwasher from starting. Drain pumps clog or burn out, leaving standing water. Heating elements corrode in hard water areas, eliminating the dry cycle. Control boards fail due to moisture intrusion or power surges, causing erratic behavior or total shutdown.
Most Estate dishwashers use a mechanical timer or early-generation electronic controls rather than modern touchpad systems. While this makes them less feature-rich, it also means fewer expensive electronics to replace. When an older unit does fail electronically, but, replacement boards can be scarce, sometimes making repair less economical than replacement, especially if the dishwasher is over 15 years old.
How to Identify the Right Replacement Parts for Your Estate Dishwasher
Start with the model number and serial number from the door or tub label. Take a clear photo of this label, it prevents transcription errors when ordering online or at a parts counter.
Cross-referencing is essential. Because Estate was a Whirlpool subsidiary brand, the manufacturer part number (often prefixed with “W” or a numeric code like “8” followed by six or seven digits) is what matters most. Searching by this manufacturer part number rather than “Estate dishwasher door seal” yields more accurate results.
If the original part is still attached and accessible, remove it first and examine it for part numbers stamped or molded into the component. Spray arms, inlet valves, and float switches often have numbers printed directly on them. Match these exactly, even small variations in valve threading or spray arm dimensions can cause fitment issues.
Many appliance repair resources provide exploded parts diagrams when you enter a model number. These diagrams assign reference numbers to each component and link directly to purchase pages. They’re invaluable for identifying parts you can’t easily remove or don’t know the name for.
For discontinued models, verify that replacement parts are still in stock before tearing into a repair. Call suppliers directly to confirm availability. Some components, particularly proprietary control boards or specialty pumps, may be backordered indefinitely or only available as refurbished units.
Most Frequently Replaced Estate Dishwasher Parts
Door Latch Assemblies and Seals
The door latch assembly is the single most common failure point on Estate dishwashers. This mechanical component both secures the door and activates a safety switch that allows the cycle to begin. When it fails, the dishwasher won’t start at all, no lights, no filling, nothing.
Replacement latches typically cost between $25 and $60 depending on the specific model. The assembly includes the strike plate (mounted on the door) and the latch mechanism (mounted on the tub). Both pieces usually need replacement together for reliable operation.
Installation requires a Phillips screwdriver and possibly a nut driver for the mounting screws. Disconnect power at the breaker before starting. The latch mechanism connects to the control circuit via push-on wire terminals, label these with tape before disconnecting to ensure correct reassembly.
Door gaskets (also called door seals or tub seals) deteriorate from heat, detergent exposure, and age. A compromised gasket causes leaks along the bottom of the door. These vinyl or rubber seals press into a channel around the tub opening and typically cost $15 to $30.
Before replacing a gasket, clean the channel thoroughly with a degreaser and inspect for sharp edges or burrs that might have damaged the old seal. Many product reviews for home appliances recommend using a small amount of dish soap on the new gasket during installation to help it slide into the channel without tearing.
Spray Arms and Water Inlet Valves
Spray arms, the rotating components that distribute water, crack from impact or clog from hard water deposits. A damaged spray arm causes poor cleaning performance, with dishes coming out still dirty in specific rack zones.
Replacement spray arms (upper, lower, or mid-level depending on model configuration) cost $15 to $40 each. They snap onto a mounting hub or thread onto a central spindle. Before replacing, remove the spray arm and soak it in white vinegar to dissolve mineral buildup, sometimes clogs masquerade as mechanical failure.
Water inlet valves control water flow into the tub. They fail in two ways: they stick closed (preventing filling) or they stick open (causing overfilling or leaking). These electrically actuated solenoid valves thread directly onto the water supply line beneath the dishwasher.
Replacement valves run $30 to $80. Installation requires shutting off the water supply at the dedicated shutoff valve (usually under the sink) and disconnecting both the water line and electrical connectors. You’ll need an adjustable wrench and possibly channel-lock pliers. Wrap new threads with Teflon tape (three to four wraps, clockwise) to prevent leaks. After installation, check all connections for drips during the first fill cycle.
Where to Buy Genuine and Compatible Estate Dishwasher Parts
Since Estate was a Whirlpool brand, Whirlpool-authorized parts distributors remain the primary source for OEM (original equipment manufacturer) components. These include national chains like AppliancePartsPros, RepairClinic, and PartSelect, which maintain searchable databases by model number.
OEM parts carry the exact specifications and quality standards as the originals, which matters most for mechanical assemblies like pumps and latches where tolerances are tight. Pricing is generally consistent across authorized distributors, though shipping costs and stock availability vary.
Aftermarket parts from manufacturers like ERP (Exact Replacement Parts) or UpStart Components offer cost savings of 20% to 40% on generic items like spray arms, gaskets, and mounting brackets. Quality varies, stick to established aftermarket brands with warranty coverage rather than unbranded overseas imports.
For hard-to-find or obsolete parts, appliance recyclers and salvage yards occasionally stock used components. This is a viable option for cosmetic pieces like rack rollers or door handles, but avoid used electrical components (control boards, inlet valves, heating elements) due to unknown operating history.
Local appliance repair shops often sell parts directly to homeowners and can verify fitment before purchase. Their markup is typically 10% to 30% over online prices, but the ability to physically inspect a part and get installation advice can justify the difference.
Many kitchen organization resources note that maintaining dishwasher efficiency helps extend component life, descaling every six months and running hot water before starting cycles reduces stress on heating elements and spray arms.
DIY Installation Tips for Estate Dishwasher Parts
Always disconnect power before beginning any repair. Flip the dedicated circuit breaker or unplug the unit if accessible. Many dishwashers are hardwired into a junction box beneath the sink, in this case, shut off the breaker and verify power is off with a non-contact voltage tester.
Shut off the water supply at the dedicated shutoff valve before removing inlet valves, float assemblies, or anything connected to the water system. Keep a shallow pan and towels handy, residual water in the tub and supply line will drain when components are disconnected.
Take photos at each disassembly step with your phone. Dishwashers cram a lot of components into tight spaces, and wire routing or bracket orientation isn’t always intuitive during reassembly.
Most Estate dishwasher repairs require basic hand tools: Phillips and flat-head screwdrivers, nut drivers (typically ¼-inch and 5/16-inch), adjustable wrench, and needle-nose pliers. A headlamp or clip-on work light is invaluable for seeing into the tub and beneath the unit.
Replacement sequence matters. For door latch assemblies, install the strike plate on the door first, then adjust the tub-mounted latch to align properly before tightening all fasteners. For spray arms, ensure mounting hubs are clean and free of debris before snapping on new arms, dirt under the hub prevents proper rotation.
Test the repair before buttoning everything up. For latch assemblies, manually close the door and listen for the click: for inlet valves, run a short cycle and watch for leaks: for spray arms, run an empty cycle and confirm rotation (shine a flashlight through the door vent slots to observe).
If a repair involves multiple parts or complex disassembly (like replacing a circulation pump or heating element), consider whether the total repair cost approaches the price of a new dishwasher. For units over 12 years old with multiple failing components, replacement often makes more financial sense. Don’t throw good money after bad, one major repair might be justified, but chasing multiple failures in an aging appliance rarely is.
Wear safety glasses when working beneath the dishwasher, loosening fittings can release pressurized water or dislodge debris. Gloves protect against sharp edges inside the tub and on removed parts.