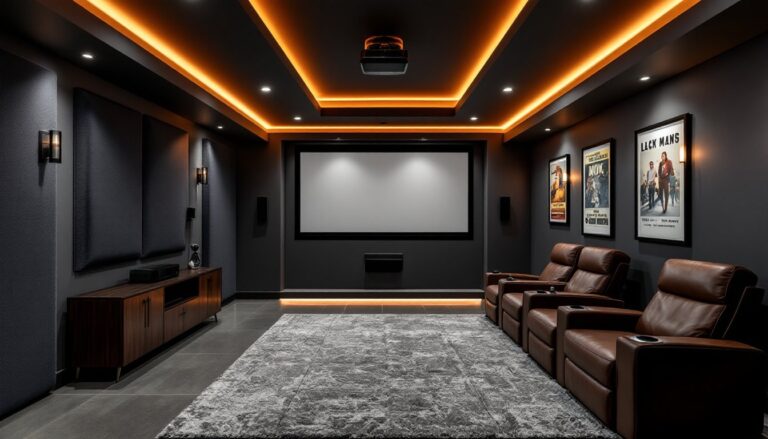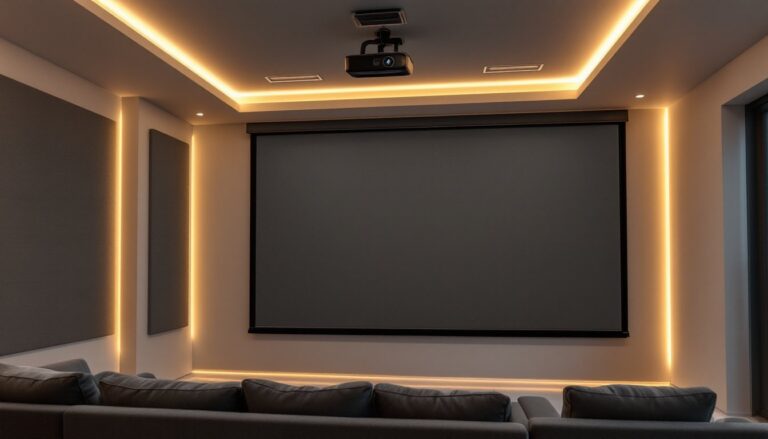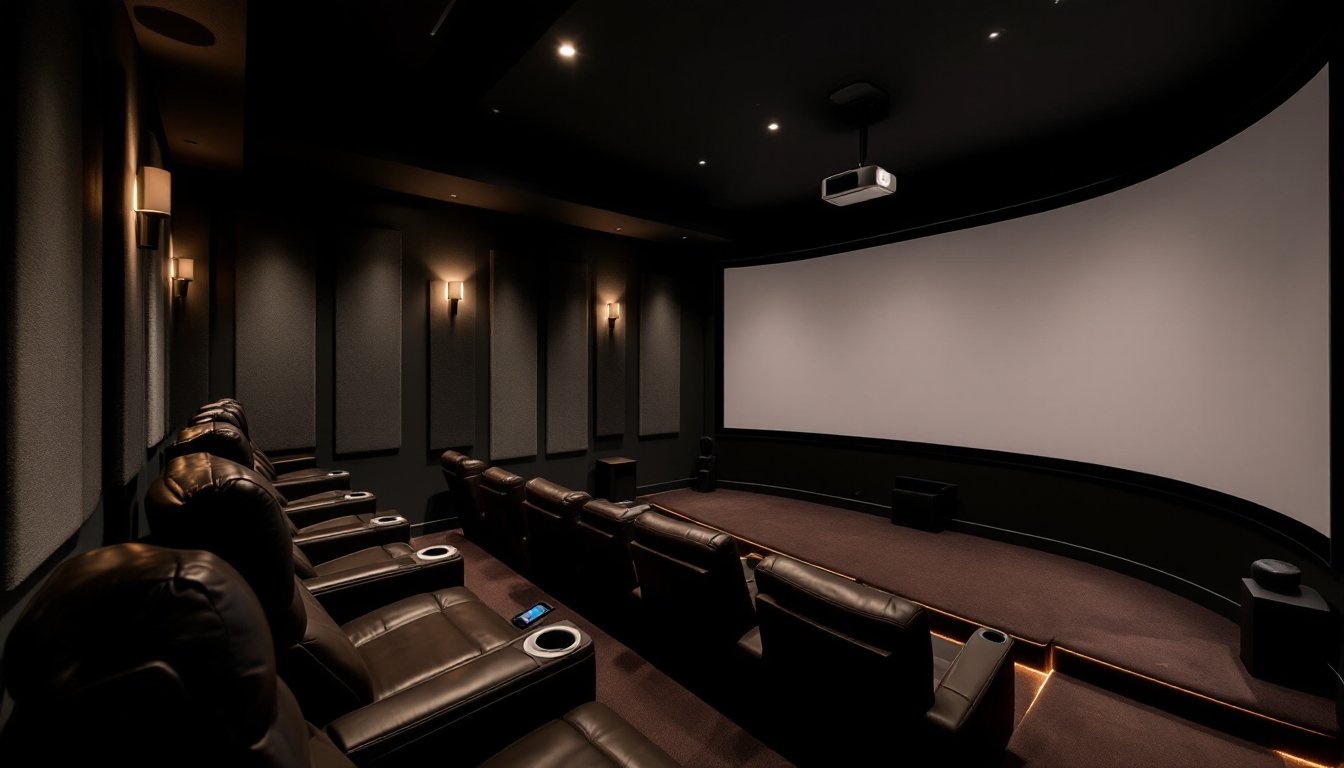
Fort Worth homeowners are transforming spare bedrooms, basements, and bonus rooms into dedicated entertainment spaces that rival commercial cinemas. A well-planned home theater isn’t just about mounting a big screen, it involves proper acoustic treatment, equipment selection, wiring infrastructure, and thoughtful room design. Whether you’re installing a basic setup or building a reference-grade screening room, understanding the fundamentals will save time, money, and frustration. This guide walks through everything from space planning and gear selection to soundproofing and smart integration, helping Fort Worth residents make informed decisions about their home theater projects.
Table of Contents
ToggleKey Takeaways
- Home theater installation in Fort Worth ranges from $3,000 for budget setups to $60,000+ for premium builds, with costs driven by equipment quality, room size, and professional labor.
- Select a rectangular room with a 1.4:1 to 1.6:1 length-to-width ratio and minimum dimensions of 12×16×8 feet to minimize acoustic issues and improve bass response.
- A complete audio system should include a capable receiver (100+ watts per channel), surround speakers, a subwoofer extending to 20–25 Hz, and Dolby Atmos capability for immersive overhead effects.
- DIY tasks like mounting displays and installing panels are achievable, but hire professionals for in-wall speaker installation, projector calibration, complex wiring, and electrical work to ensure proper Fort Worth code compliance.
- Combine soundproofing (mass, decoupling, sealing) with acoustic treatment (absorption panels, bass traps, diffusion) to block external noise while optimizing sound quality without over-dampening the room.
- Integrate smart home automation with voice control, motorized screens, dimmable lighting, and streaming device coordination to enhance convenience and deliver a seamless entertainment experience.
Why Fort Worth Homeowners Are Investing in Home Theaters
The demand for dedicated home theaters in Fort Worth has surged over the past few years. Families want on-demand entertainment without dealing with crowded theaters, sticky floors, or inflated concession prices. A home theater offers complete control over the viewing experience, pause when needed, adjust volume without complaints, and enjoy content on your schedule.
Property value is another driver. A professionally installed or thoughtfully designed home theater can add tangible resale appeal, particularly in neighborhoods like Tanglewood, Crestline, and West 7th where buyers expect finished, functional spaces. Real estate data shows that entertainment rooms rank high on buyer wish lists, especially for homes over 2,500 square feet.
Texas weather also plays a role. Hot summers and unpredictable spring storms make indoor entertainment attractive. Instead of battling 100-degree heat or tornado warnings, homeowners retreat to climate-controlled screening rooms with blackout shades and surround sound. The investment pays off in comfort and year-round usability.
Planning Your Home Theater Installation: Space and Budget Considerations
Before shopping for projectors or speakers, evaluate your available space and realistic budget. A home theater can range from $3,000 for a modest setup to $50,000+ for a fully custom installation. Costs vary based on equipment quality, room size, acoustic treatments, seating, and whether you hire professionals or tackle portions yourself. Use resources like cost estimator tools to benchmark expectations for your region and scope.
Typical Fort Worth projects fall into three tiers:
- Budget-friendly setup ($3,000–$8,000): Large-format TV (75″–85″), soundbar or entry-level 5.1 surround system, basic seating, minimal acoustic treatment.
- Mid-range installation ($10,000–$25,000): Dedicated projector and screen (100″–120″), 7.1 or Atmos-capable receiver, in-wall or bookshelf speakers, theater seating, acoustic panels, and basic automation.
- Premium build ($30,000–$60,000+): Reference-grade projector, motorized screen, 9.2 or 7.2.4 Atmos system, custom acoustic design, tiered seating, full smart home integration, and professional calibration.
Choosing the Right Room for Your Home Theater
Room selection is critical. Ideally, look for a space that’s rectangular with a length-to-width ratio between 1.4:1 and 1.6:1, this minimizes standing wave issues and improves bass response. Avoid perfect squares, which create problematic acoustic nodes.
Minimum recommended dimensions: 12 feet wide × 16 feet long × 8 feet high. Smaller rooms work but limit seating capacity and bass extension. Basements are popular in Fort Worth because they’re naturally dark, easier to soundproof, and often underutilized. Bonus rooms and spare bedrooms also work, provided you can control ambient light and manage sound bleed to adjacent spaces.
Check for obstructions: HVAC vents, structural posts, and low-hanging ductwork complicate equipment placement and seating layouts. If the room shares a wall with bedrooms, plan for soundproofing. Carpeted floors are preferable to tile or hardwood, they dampen reflections and reduce footfall noise.
Essential Equipment for Your Fort Worth Home Theater
Core components include display, audio, seating, and control systems. Start with the display: projectors deliver the most immersive experience for dedicated rooms, while large-format TVs (77″ OLED or 85″ LED) suit spaces with ambient light or limited throw distance.
For projectors, factor in throw distance, the space between projector and screen. Short-throw models work in tighter rooms (as close as 4–6 feet for a 100″ image), while standard throw projectors need 10–15 feet. Screen size should be chosen based on viewing distance: for 1080p, sit 1.5× to 2× the screen width away: for 4K, you can sit closer (1× to 1.5×).
Audio system configurations:
- 5.1 surround: Front left/center/right, two rear surrounds, one subwoofer. Good entry point.
- 7.1 surround: Adds two side surrounds for better spatial imaging.
- Dolby Atmos (e.g., 5.1.2 or 7.2.4): Includes height channels (ceiling or upfiring speakers) for overhead effects.
Receiver power matters. For a 2,000-cubic-foot room, look for an AVR rated at least 100 watts per channel (all channels driven). Subwoofers should be ported or sealed designs rated for low-frequency extension down to 20–25 Hz.
Seating should be theater-style recliners with cup holders, ideally positioned so the first row sits at 1.5× screen width and the back row no farther than 2.5× screen width. Tiered platforms (6–8 inch rise per row) improve sightlines in multi-row setups.
Don’t overlook cables and power. Run HDMI 2.1 cables (rated for 48 Gbps) for 4K/120Hz and eARC support. Install a dedicated 20-amp circuit if powering multiple amps and a projector, tripping breakers mid-movie isn’t fun.
DIY vs. Professional Installation: What Fort Worth Homeowners Need to Know
Some aspects of home theater installation are DIY-friendly: others demand professional expertise. You can handle: mounting a TV or screen, running speaker wire through open walls or attics, assembling seating platforms, and installing acoustic panels. Basic setups, TV, soundbar, and streaming device, are weekend projects for most homeowners.
Hire a pro for: in-wall/in-ceiling speaker installation in finished spaces, projector alignment and calibration, complex wiring through closed walls, custom rack builds, and integrating whole-home automation systems. Electrical work beyond swapping outlets may require a licensed electrician per Fort Worth code. If you’re adding outlets, relocating panels, or running new circuits, pull permits and hire someone with a Texas electrical license.
Cable fishing through existing walls is tedious. A stud finder, flexible drill bits, and fish tape help, but pros carry specialized tools (e.g., articulating borescopes) that save hours. For concealed wiring, many Fort Worth installers charge $75–$150 per drop, depending on wall construction and accessibility.
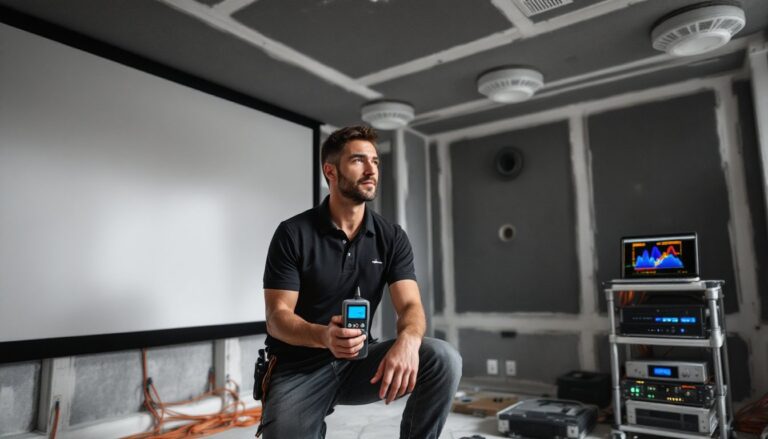
Professional calibration is worth considering. Even high-end gear sounds mediocre without proper room correction and speaker placement. Many installers use measurement microphones and software (e.g., Audyssey, Dirac) to tune frequency response, delays, and crossover points. This service typically runs $300–$800, but the improvement in clarity and imaging is dramatic.
If budget allows, consider hiring a consultant for design and doing some execution yourself. They’ll specify gear, map wiring routes, and identify acoustic trouble spots, you handle the physical labor. This hybrid approach, often supported by contractor matching services, balances cost and quality.
Acoustic Treatment and Soundproofing Solutions
Acoustic treatment and soundproofing are separate goals. Soundproofing blocks noise from entering or leaving the room: acoustic treatment improves sound quality inside the room by managing reflections, standing waves, and reverberation.
Soundproofing basics:
- Add mass: Double up drywall with Green Glue damping compound between layers. This viscoelastic compound converts sound energy to heat.
- Decouple surfaces: Use resilient channel or staggered stud walls to isolate drywall from framing.
- Seal gaps: Acoustic caulk around outlets, door frames, and baseboards prevents sound leakage.
- Upgrade doors: Solid-core doors with weatherstripping and threshold seals outperform hollow-core models.
For floors above living spaces, lay mass-loaded vinyl (MLV) under carpet or float a subfloor on rubber isolation pads. This reduces impact noise from footfalls and subwoofer vibrations.
Acoustic treatment strategies:
- Absorption panels: Fabric-wrapped fiberglass panels (2–4 inches thick) at first reflection points (side walls, ceiling) reduce flutter echo and tame mid-to-high frequencies. Place them where a mirror on the wall would reflect the speaker to the listening position.
- Bass traps: Corner-mounted absorbers (thick fiberglass or foam wedges) control low-frequency buildup. Corners are pressure zones where bass accumulates.
- Diffusion: Wooden or polymer diffusers scatter sound evenly, preventing dead spots without over-damping the room. Useful on rear walls.
Avoid over-treatment. A completely dead room sounds unnatural. Aim for a reverberation time (RT60) around 0.3–0.5 seconds for home theaters. If clapping your hands produces a sharp, ringing echo, add absorption. If speech sounds muffled, you’ve overdone it.
DIY panels are cost-effective. Build frames from 1×4 pine, fill with Owens Corning 703 or Rockwool Safe’n’Sound, and wrap in acoustically transparent fabric. Panels cost $20–$40 each versus $100+ for commercial units.
Smart Home Integration and Automation Options
Smart integration elevates convenience and usability. A well-configured system lets homeowners dim lights, drop a screen, power on the projector, and switch sources with a single button press or voice command.
Popular control platforms:
- Logitech Harmony (discontinued but still functional): Universal remotes that control multiple devices via IR or Bluetooth.
- Control4, Crestron, Savant: Professional-grade systems offering deep customization, touchscreens, and whole-home integration. Require dealer installation.
- Home Assistant, Hubitat: Open-source hubs for tech-savvy DIYers. Steep learning curve but extremely flexible.
Voice control via Amazon Alexa, Google Assistant, or Apple HomeKit works well for basic commands (“Play Stranger Things,” “Set theater to movie mode”). Ensure your AVR, TV, and streaming devices support HDMI-CEC or have network control capabilities.
Lighting automation is critical. Install smart dimmers or motorized shades programmed to close and dim when the system powers on. Philips Hue, Lutron Caseta, or hardwired 0-10V dimmers integrate cleanly with most control systems. Keep a low-level pathway light (LED strip under seating or baseboards) for safety during movies.
Zoned audio lets you extend music or alternate sources to patios, kitchens, or bedrooms using matrix switches or multi-room amps. Brands like Sonos, Russound, and Monoprice offer scalable solutions.
For planning and budgeting these integrations, many homeowners consult project cost guides to compare system options and installer rates. Integration typically adds $1,500–$5,000 depending on complexity, device count, and whether you need custom programming.
Wiring infrastructure matters. Run CAT6 Ethernet to equipment racks, streaming devices, and control panels even if you plan to use Wi-Fi initially, it’s cheap insurance. Conduit (1.5″ PVC) between equipment closets and the theater allows future cable upgrades without opening walls.