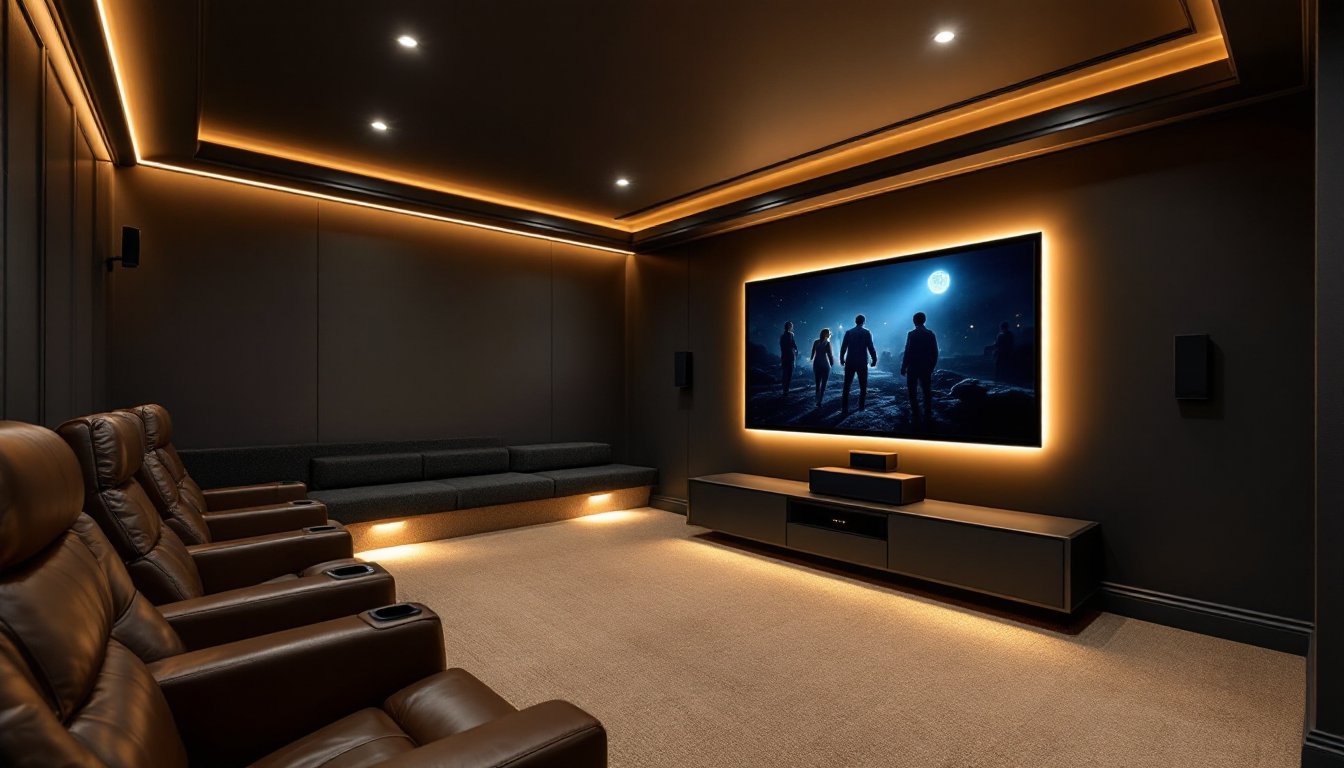
Great picture and sound don’t mean much if the lighting in a home theater fights against them. Too bright, and glare washes out the screen. Too dark, and navigating to a seat becomes a safety hazard. Getting the lighting right transforms a media room from “TV in the basement” into an immersive viewing experience that rivals commercial cinemas. The good news? Most home theater lighting upgrades are straightforward DIY projects that don’t require pulling permits or hiring an electrician, though a few scenarios do. This guide covers the lighting types that work, how to pick the right specs, and what control options make sense for different setups.
Table of Contents
ToggleKey Takeaways
- Proper home theater lights balance ambient, task, and accent layers to enhance picture quality while maintaining safety and reducing eye strain during extended viewing sessions.
- LED strip lights and bias lighting (around 6500K) are the most flexible and cost-effective solutions for home theater applications, with installation that requires minimal wiring or permits.
- Avoid bright overhead lighting and cool color temperatures during movies; instead, use warm white (2700K-3000K) ambient lighting and dim recessed lights to 5% output for optimal viewing.
- Step and floor-level aisle lights using low-voltage LED fixtures are essential for safety in tiered seating areas and can operate independently from main ambient lighting.
- Smart dimmer switches and scene controllers offer convenient automation for multiple home theater lighting setups without complex wiring, while wireless solutions sacrifice reliability compared to hardwired systems.
- Color temperature and brightness matter equally—use 6500K for bias lighting to match production standards, and target 5-10 lumens per square foot for ambient room lighting at full output.
Why Lighting Matters in Your Home Theater
Lighting affects both the viewing experience and the usability of the space. Ambient light that reflects off the screen creates glare, reducing contrast and washing out blacks, especially on LCD and LED displays. OLED panels handle ambient light better, but even they lose impact under direct illumination.
Beyond picture quality, lighting serves practical functions. Viewers need enough light to move safely without stumbling over furniture or steps. Parents appreciate being able to check on kids without flooding the room with overhead lights. Controlled lighting also reduces eye strain during long viewing sessions by providing subtle ambient illumination that prevents the harsh contrast between a bright screen and a pitch-black room.
The key is layering: dim ambient light for general movement, task lighting for seating areas if needed, and accent lighting to highlight architectural features without spilling onto the screen. Each layer operates independently, so users can adjust based on the activity, full lights for cleaning or setup, minimal lighting during movies, and moderate lighting for gaming or casual TV watching.
Proper planning during the framing stage makes installation easier, but most lighting types can be retrofitted into finished spaces without major demolition. The priority is choosing fixtures that don’t compete with the screen and controls that let users adjust levels quickly.
Types of Home Theater Lighting to Consider
LED Strip Lights and Bias Lighting
LED strip lights offer the most flexibility for home theater applications. These come in 12V or 24V varieties, sold in reels (typically 16.4 feet) that can be cut at marked intervals and connected to power supplies. The adhesive backing sticks to clean, dry surfaces, behind crown molding, under seating risers, along baseboards, or behind the TV.
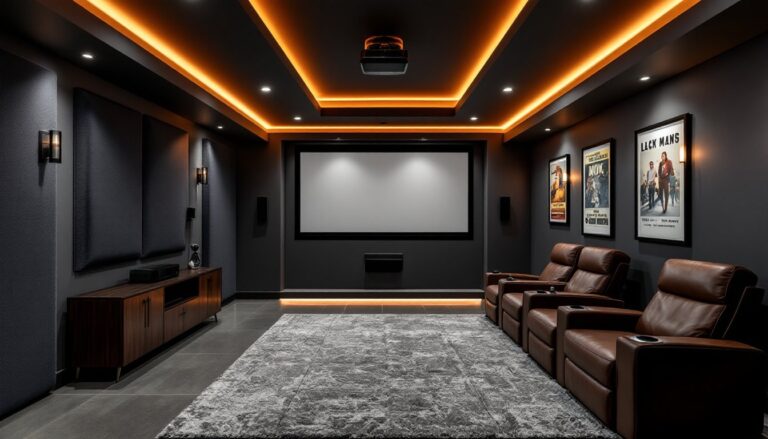
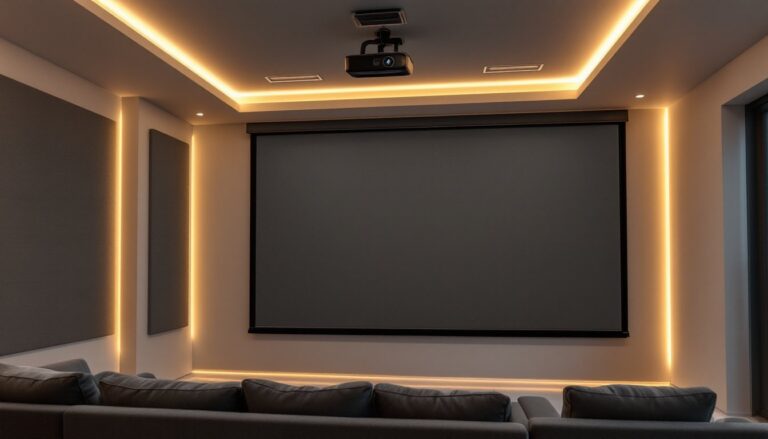
Bias lighting refers specifically to LED strips mounted behind the display. This creates a soft glow that reduces the contrast between the bright screen and the dark wall behind it, cutting down on eye fatigue. The effect is subtle but noticeable during multi-hour viewing sessions. For bias lighting, choose strips with a color temperature around 6500K (neutral white) to match the D65 standard used in video mastering. Avoid RGB or color-changing strips behind the screen, they’ll shift color perception and distort the intended picture.
Installation is simple: measure the perimeter of the TV, cut the strip to length at the marked copper pads, and adhere it around the back edge of the panel. Run the power cable down behind the entertainment center and plug it into an outlet or a smart plug for remote control. Some users prefer routing the cable through the wall using a low-voltage brush plate (no permit required, since it’s low-voltage).
For ambient room lighting, RGB or tunable white LED strips work well along cove ceilings, behind wall panels, or under seating. Many smart lighting systems sync with on-screen content, changing color based on what’s playing, useful for gaming or music videos, less so for serious film watching.
Recessed and Dimmable Ceiling Lights
Recessed can lights provide general illumination without visible fixtures cluttering the ceiling. Standard 4-inch or 6-inch cans work, but the key is pairing them with dimmable LED bulbs and a compatible dimmer switch. Not all LED bulbs dim smoothly, cheap ones flicker or cut out at low levels. Look for bulbs rated for dimming performance, typically labeled as “high-performance dimmers” or “low-glow” models.
Installing recessed lights in an existing ceiling requires cutting holes (typically with a hole saw matched to the can size), running 14/2 NM-B (Romex) cable from the switch location, and connecting the fixtures. This work falls under NEC Article 410 and usually requires a permit. If the ceiling is unfinished or accessible from above (like a basement theater), it’s a manageable DIY project for someone comfortable with basic electrical work. If the ceiling is finished with no attic access, hiring an electrician often makes more sense than patching drywall afterward.
For retrofit projects, consider halo-style LED recessed kits that install into existing cans without new wiring, just screw the adapter into the old socket and snap the new LED module in place. These kits often include dimming capability and consume far less power than old incandescent or halogen bulbs.
Position recessed lights to avoid direct line-of-sight from seating positions. Aim them toward walls or aisles, not at viewers’ faces or the screen. A common layout uses lights along the rear wall and side aisles, leaving the area directly above seating darker.
Step and Floor Lighting for Safety
Step lights and floor-level aisle lighting keep pathways visible without disrupting the viewing experience. These are especially important in home theaters with tiered seating or stairs. Building codes (check local amendments to the IRC) often require illumination for stairs, though enforcement varies in residential spaces.
Step lights mount into recessed pockets cut into the stair risers or along the wall adjacent to the steps. Most run on low-voltage DC power (12V or 24V), so they don’t require conduit or electrical boxes. Surface-mount versions attach directly to the wall and work well for retrofits. Aim for fixtures with recessed LEDs or louvered shields that direct light downward, not outward into the room.
For floor lighting along aisles, low-profile LED strip channels or recessed floor lights mark the path without creating tripping hazards. Surface-mount rope lights or puck lights work, but they’re more likely to get kicked or snagged. If building a raised seating platform, route the wiring underneath during construction. For existing floors, adhesive-backed LED strips along the baseboard are the easiest retrofit, just run the power cable behind furniture or through a cable raceway for a clean look.
Power these lights separately from the main ambient lighting so they can stay on during movies. A simple toggle switch near the entrance works, or integrate them into a smart lighting system for automatic dimming when the movie starts.
How to Choose the Right Color Temperature and Brightness
Color temperature is measured in Kelvin (K) and describes the warmth or coolness of white light. For home theaters, the goal is avoiding color casts that distort the picture or create harsh contrast.
For bias lighting behind the TV, stick with 6500K (daylight white). This matches the color standard used in film and TV production, so it won’t shift how colors appear on screen. For general room lighting, 2700K to 3000K (warm white) creates a comfortable, cinema-like atmosphere. Avoid cool white (4000K+) in viewing areas, it feels clinical and undermines the cozy ambiance.
RGB and color-tunable strips are tempting, but resist using them during actual movie watching. Changing colors behind the screen or around the room interferes with color perception. Save the RGB effects for pre-show lighting or gaming sessions where immersion beats color accuracy.
Brightness matters just as much as color. The goal is enough light to move safely, but not so much that it competes with the screen. For bias lighting, aim for around 10-15% of the screen’s peak brightness. Measure this roughly by eye: the backlight should be visible but not distracting. For LED strips, this usually means dimming to 25-40% of maximum output.
For ambient room lighting, target 5-10 lumens per square foot at full output, then dim to taste. A 12×15-foot theater (180 sq ft) needs roughly 900-1,800 lumens total, achievable with a handful of dimmable recessed lights or a well-placed LED strip run. Use a dimmer that goes down to 1-5% output for movie mode: many cheaper dimmers bottom out at 10-15%, which is still too bright.
Step and aisle lights should produce just enough illumination to see the floor. Most step lights range from 1 to 3 lumens each, which sounds tiny but is sufficient when spaced 3-4 feet apart. Over-lighting aisles creates distraction: under-lighting defeats the purpose.
Smart Lighting Controls and Automation Options
Manual dimmer switches work fine, but smart controls add convenience, especially in dedicated home theater spaces where lighting adjustments happen frequently.
Smart dimmer switches replace standard wall switches and connect to Wi-Fi or a hub (Zigbee, Z-Wave). Brands like Lutron Caseta, Leviton, and GE offer models compatible with most LED bulbs and strips. Installation is the same as a standard dimmer: turn off the breaker, remove the old switch, connect the new one to the load and line wires (and neutral, if required), and mount it in the box. If the existing box doesn’t have a neutral wire, choose a model that doesn’t require one, or run new wire (which may require a permit).
Once installed, program lighting scenes through the manufacturer’s app. A “Movie Mode” scene might dim recessed lights to 5%, turn off bias lighting, and leave step lights at 50%. An “Intermission” scene brings ambient lights to 30% for bathroom breaks. Most platforms (Alexa, Google Home, Apple HomeKit) integrate with these switches, enabling voice control.
Smart plugs offer a simpler option for controlling LED strips that plug into outlets. No wiring required, just plug the strip’s power supply into the smart plug, connect it to the app, and add it to scenes or routines.
For deeper integration, connect smart lighting to a home theater control system like Control4, Savant, or open-source options like Home Assistant. These can trigger lighting changes automatically when the projector powers on or the receiver switches inputs. Some advanced setups use ambient light sensors to adjust brightness based on time of day or screen content.
Voice control works well for simple adjustments, but physical controls still matter. Install a wireless scene controller near the seating area so users don’t need to walk to the wall switch or fumble with a phone. Lutron Pico remotes, for example, mount to walls without wiring and control scenes with a single button press.
Battery-powered LED strips with RF remotes avoid wiring entirely but sacrifice reliability, batteries die, remotes get lost, and wireless range can be spotty. For permanent installations, stick with wired solutions powered by plug-in adapters or hardwired low-voltage transformers.
If wiring new circuits for recessed lights, consider installing them on separate switches or dimmers for different zones (front of room, sides, rear). This flexibility costs little upfront but makes a big difference in how the space functions. Even without smart controls, basic zoned dimming gives users enough control to dial in the right lighting for any situation.